As you might expect, VERTIGO has some climbing, but it is nothing like the WATERFALL expedition. VERTIGO begins with radar scans like the OMPHALOS expedition, and it continues with a Recovery task like FIELD TEST. However, VERTIGO packs a uniquely explosive conclusion. Make sure you listen to Sol! The reward, if you survive, is opening a very convenient transition cave between the Great River and Dry Ridge regions.
Objectives and Tips
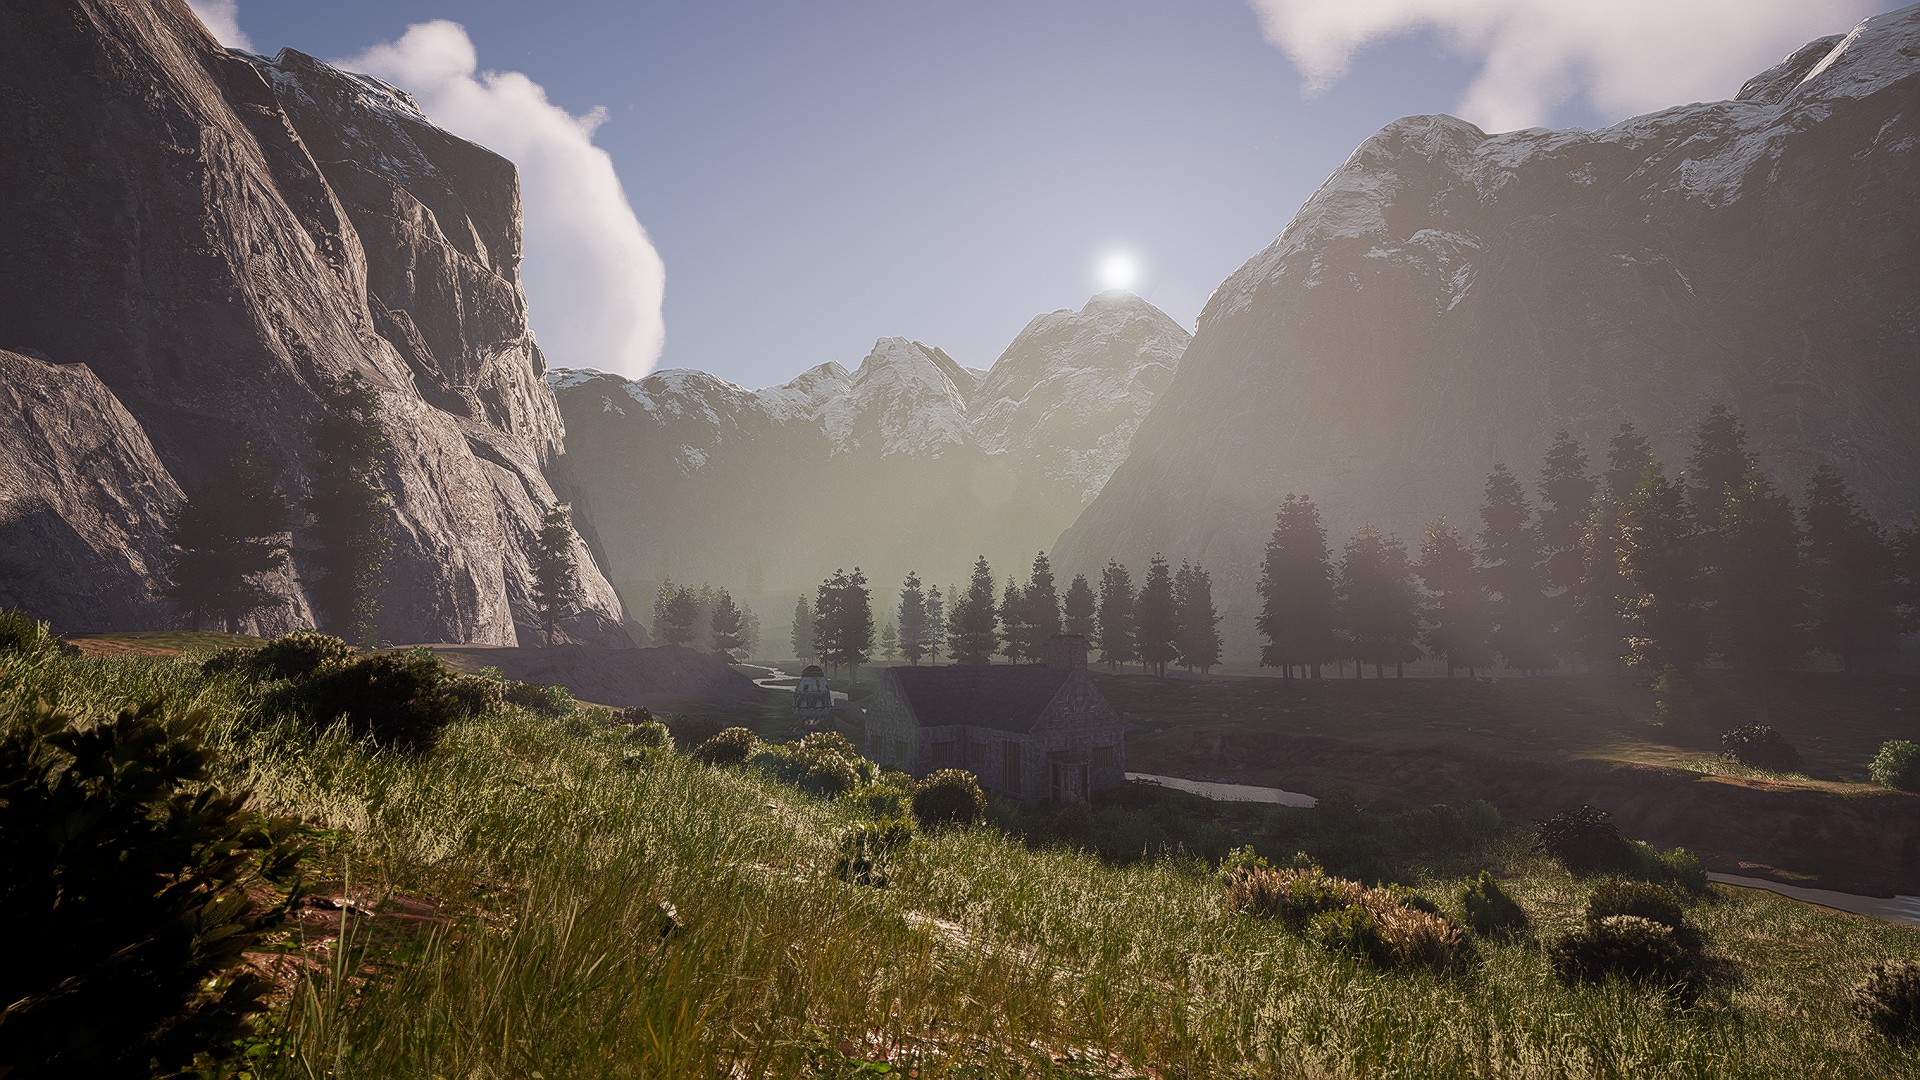
Your Dropship will land in the Grove, which is as good a place to build your base as anywhere else. Note that you will need to deal with high-level predators until you establish a large-enough base that they do not notice you. It may be best to craft or bring a good ranged weapon and ammo (Tier 3 or better) to fend off predators during the scan missions. Consider bringing 500-1000 health points of healing items and a stack (10) of Basic Bandages to treat Wounds.
This mission takes place in all three biomes: Forest, Desert, and Arctic. If you bring all-weather armor like the Naneo Armor, consider storing it and using Fur Armor, instead, until your base is set up. You can make do with Fur Armor for the entire mission, if desired, by replacing the chestpiece with one from the Cloth, Hunter, or Sandworm armor sets whenever you are in the Desert biome.
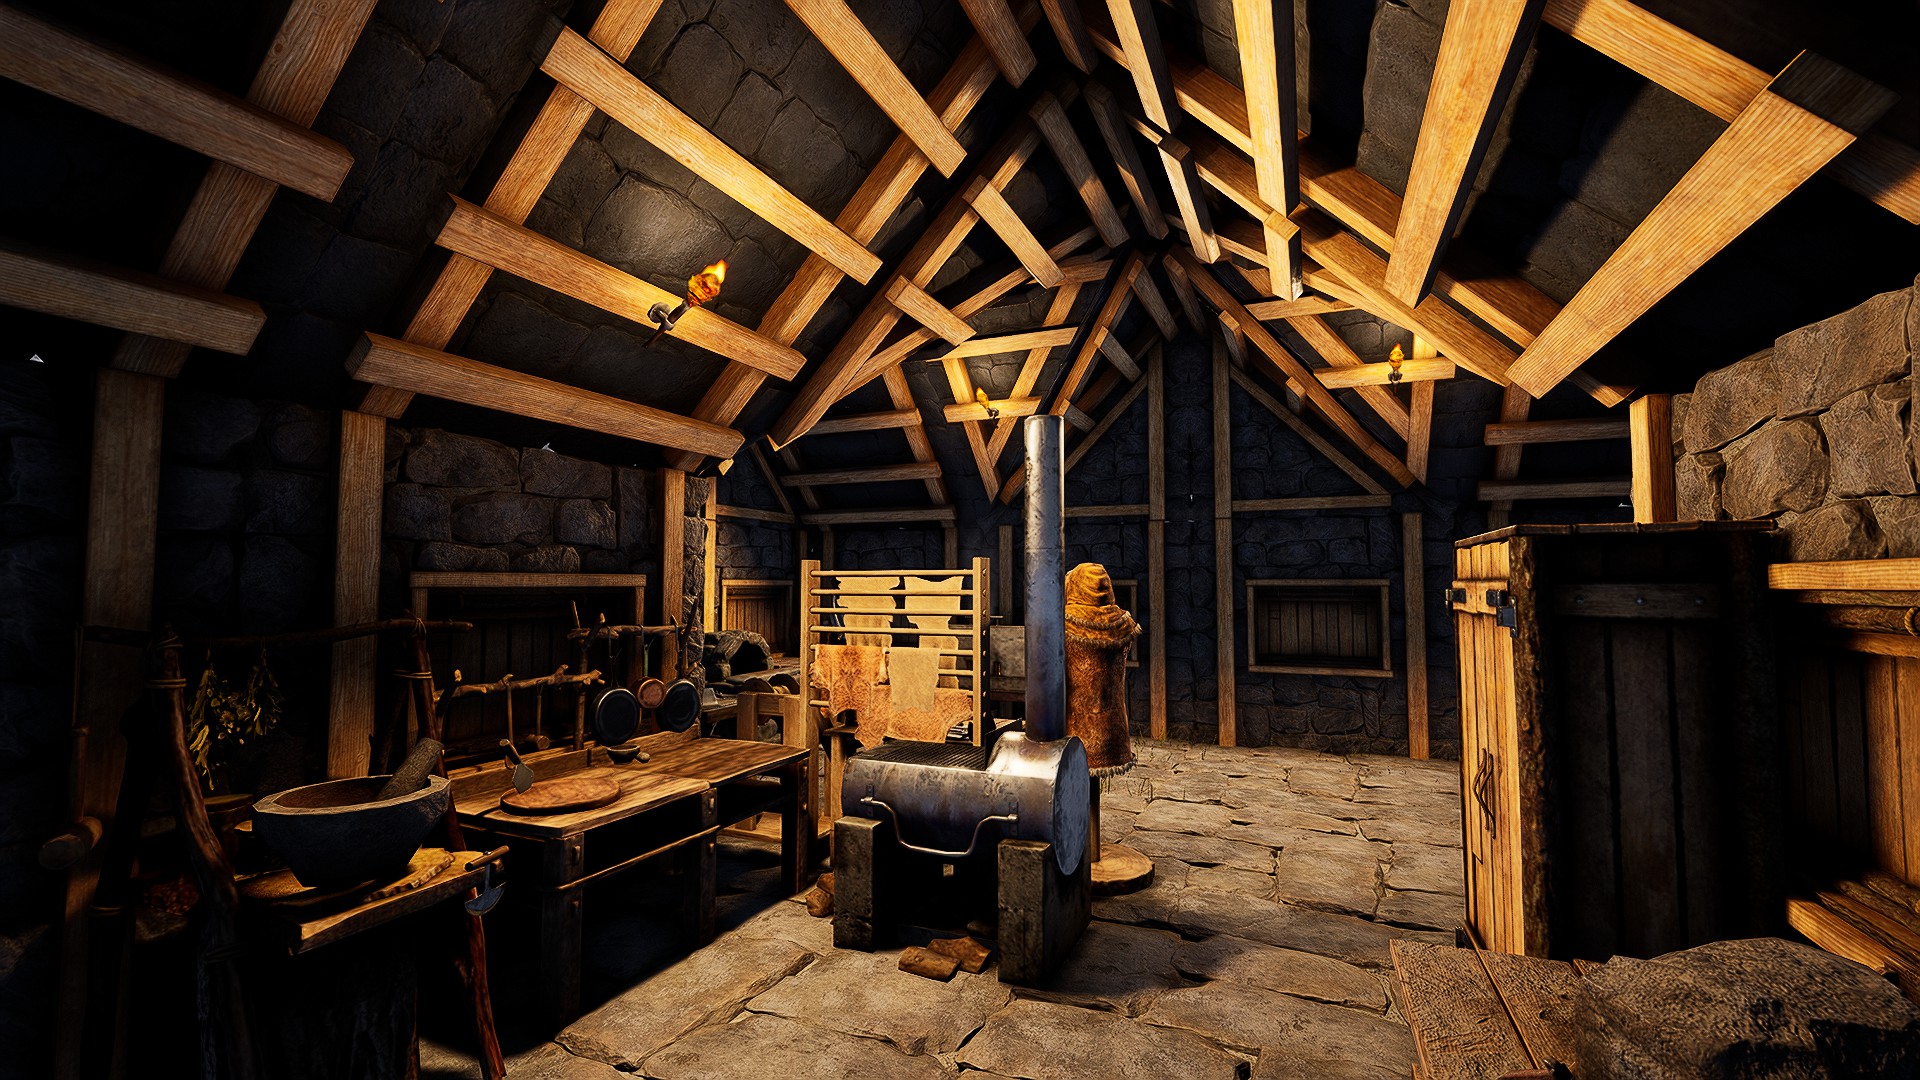
A lack of space can really slow a mission. Size it to match what you plan to do. Placing light sources on slanted roofs will spread the light evenly and efficiently over a wide area.
Scan the Verdant Terraces Region
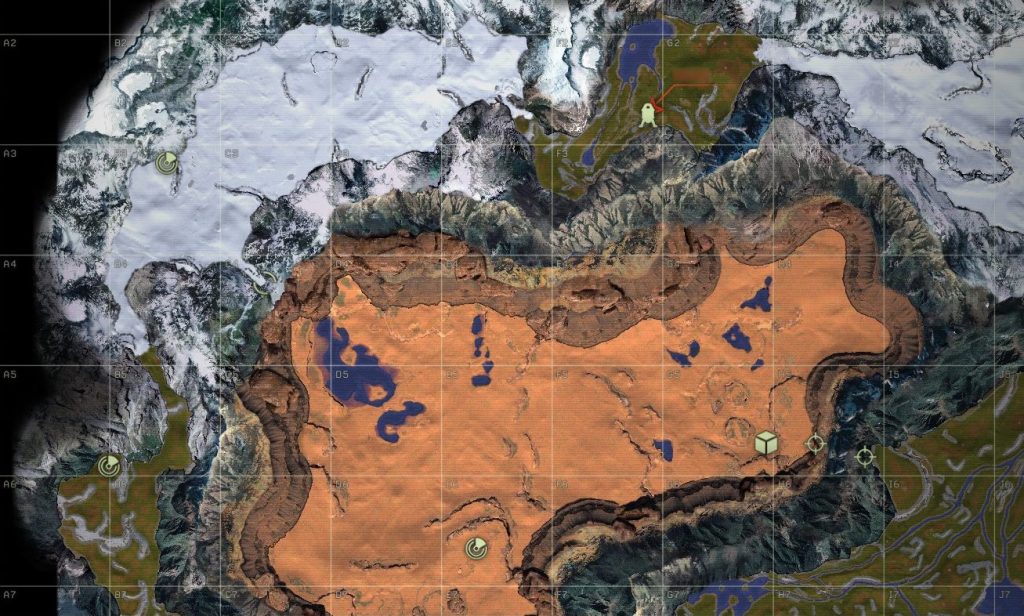
Pick up and bring the Radar from the Dropship, if you have not already. Once you pick up the Radar, three scan locations will be marked on your map. Head to the radar marker in A5/B5. Find the hologram in the forest clearing and place the Radar in it.
Once activated, you will be attacked by jaguars and boars from a few directions. Due to the position on the terrace, the number of attack directions for the predators is limited. Keep an eye out for any wolves or bears nearby that may want to join the fray.
Did anyone order a hundred strips of bacon… delivered?
High-level boars have a lot of health points and enter this fight fully aggroed. Depending on your weapon, it may take more than 2 critical hits to take each of them down. If you start to take damage or get a Wound, back up and let the radar take a couple hits while you tend to yourself. After 4 minutes, the scan will be complete, and you can repair and pick up the radar.
NOTE: Boars always drop Raw Bacon. With a Campfire, Cooking Station and a Potbelly Stove, you can craft Cooked Bacon and Crispy Bacon, two of the best recipes available. By skinning all of the boars, you can harvest more than 100 Raw Bacon, which will take care of two of your food buffs for the duration of the prospect.
Scan the Ice Flats Region
Next, head north to the Arctic scan location in B3. Find the hologram, place the Radar in it, and activate it. You will have to defend the radar again for 4 minutes while wolves and snow leopards are spawned in to attack you. Any meandering wolves in your vicinity also may be drawn into the fight. Due to the placement of the Radar on the terrace, the directions predators can attack from are limited.
The leopards go down one-by-one. Hurrah! Hurrah!
However, the detection radius of Arctic predators is larger, so this fight will require longer-range accuracy. If you move into the path of an oncoming predator, it will be less likely to break to the side, and it will be easier to line up a critical hit. Arctic wolves and snow leopards have low health, so a single crit from a good bow and arrow will drop each of them.
Keep an eye on your health and watch out for Wound ailments if you start taking hits. Fall back and let the radar take a few hits while you heal up. When the scan is finished, repair the Radar, pick it up, and head off to your next scan. As an optional objective, the northwestern entrance to the transition cave in C4 is marked on your map. If you are heading immediately for the Dry Ridge Region, this is a great shortcut to take.
Scan the Dry Ridge Region
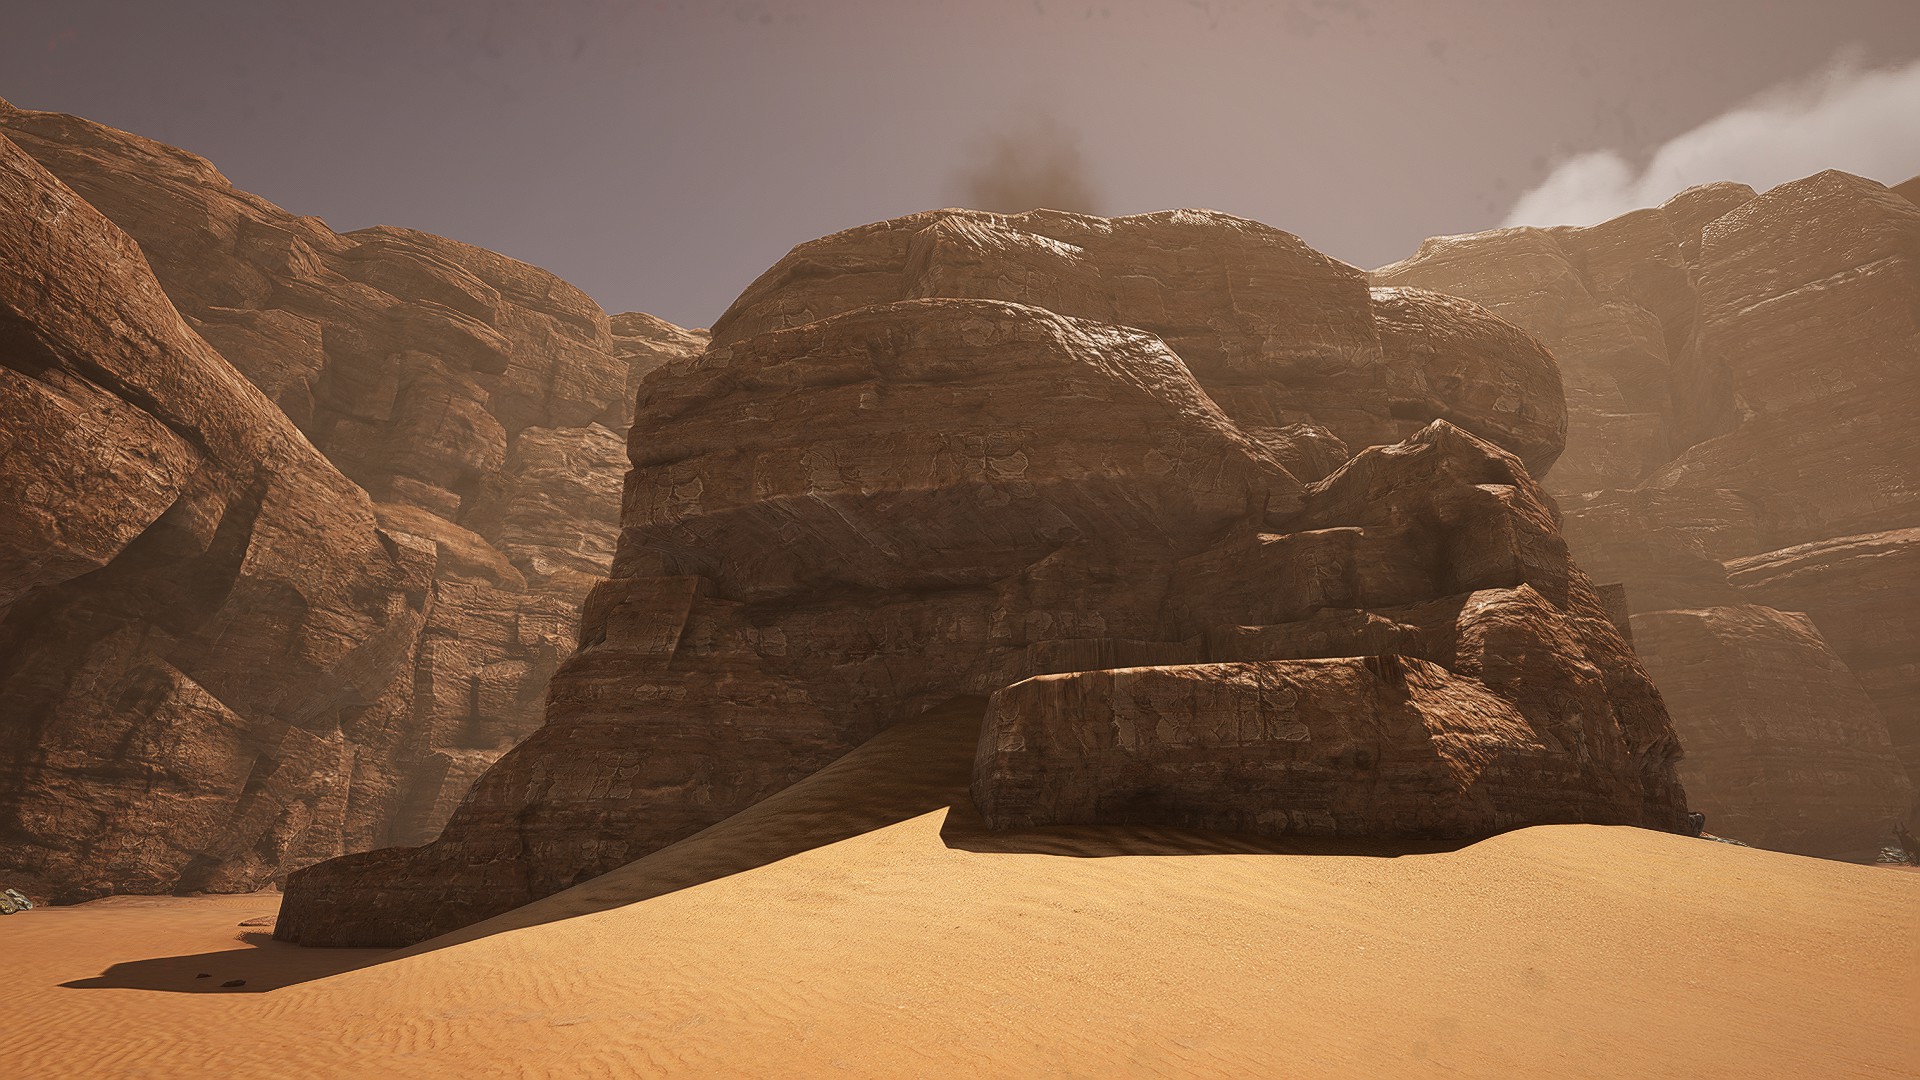
The last scan is an example of how to use the Desert high ground to perform scans without the risk of predators (just like in the RICOCHET expedition). Once you arrive at the scan location in E6, you will find a tall butte, and the hologram is on the top of it. Bring 10 Wood Ladders to help scale the side to reach the hologram. Find a suitable staircase of terraces in the side of the butte to help you ascend and break your fall, if needed.
There are several terraces cut into the side of this butte. Place ladders on them so they are not destroyed by passing predators.
Place the Radar in the hologram and activate it. No predators will attack, and the scan only takes about 40 seconds to complete. (Remember this tactic for when you want to scan for exotics, perhaps at the end of this expedition.) While you wait, take a look around at some of the incredible desert views due to the height, distance, and lighting effects.
Stick around for sunrise if you can; although, if you do, you may not want to leave
Recover the Lost Equipment
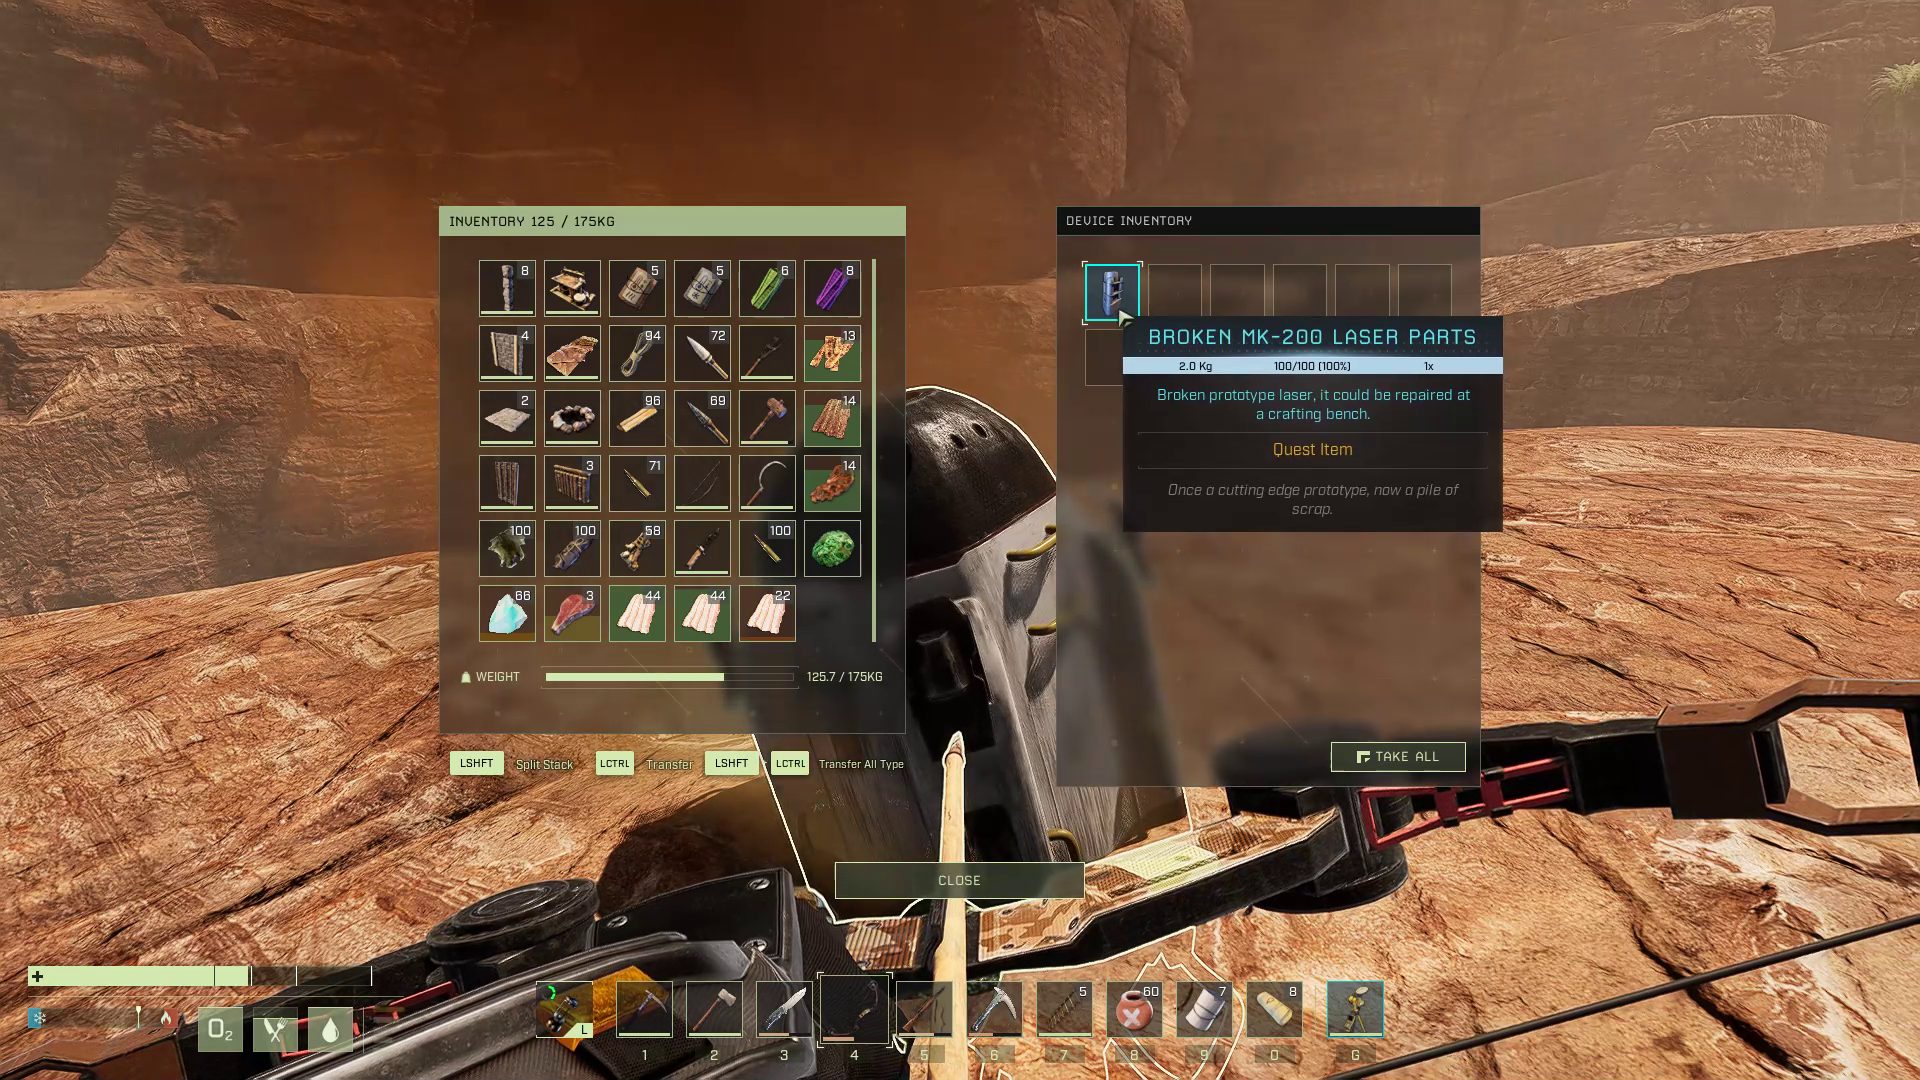
With all 3 scans completed, the location of the equipment that Group 15 misplaced will be added to your map. Unsurprisingly, it is at the top of another butte. Bring 10 Wood Ladders to the butte. (Reuse the Dry Ridge scan ladders if you can.) Circle around it to find a good staircase of terraces to make your ascent easier, and climb up to the top. The equipment is a broken prototype laser stashed in a crashed Supply Pod at the top of the butte. Grab it and descend to the desert floor.
The natural stairs on the north side will help you summit the butte and recover the broken laser
Repair the Prototype Laser
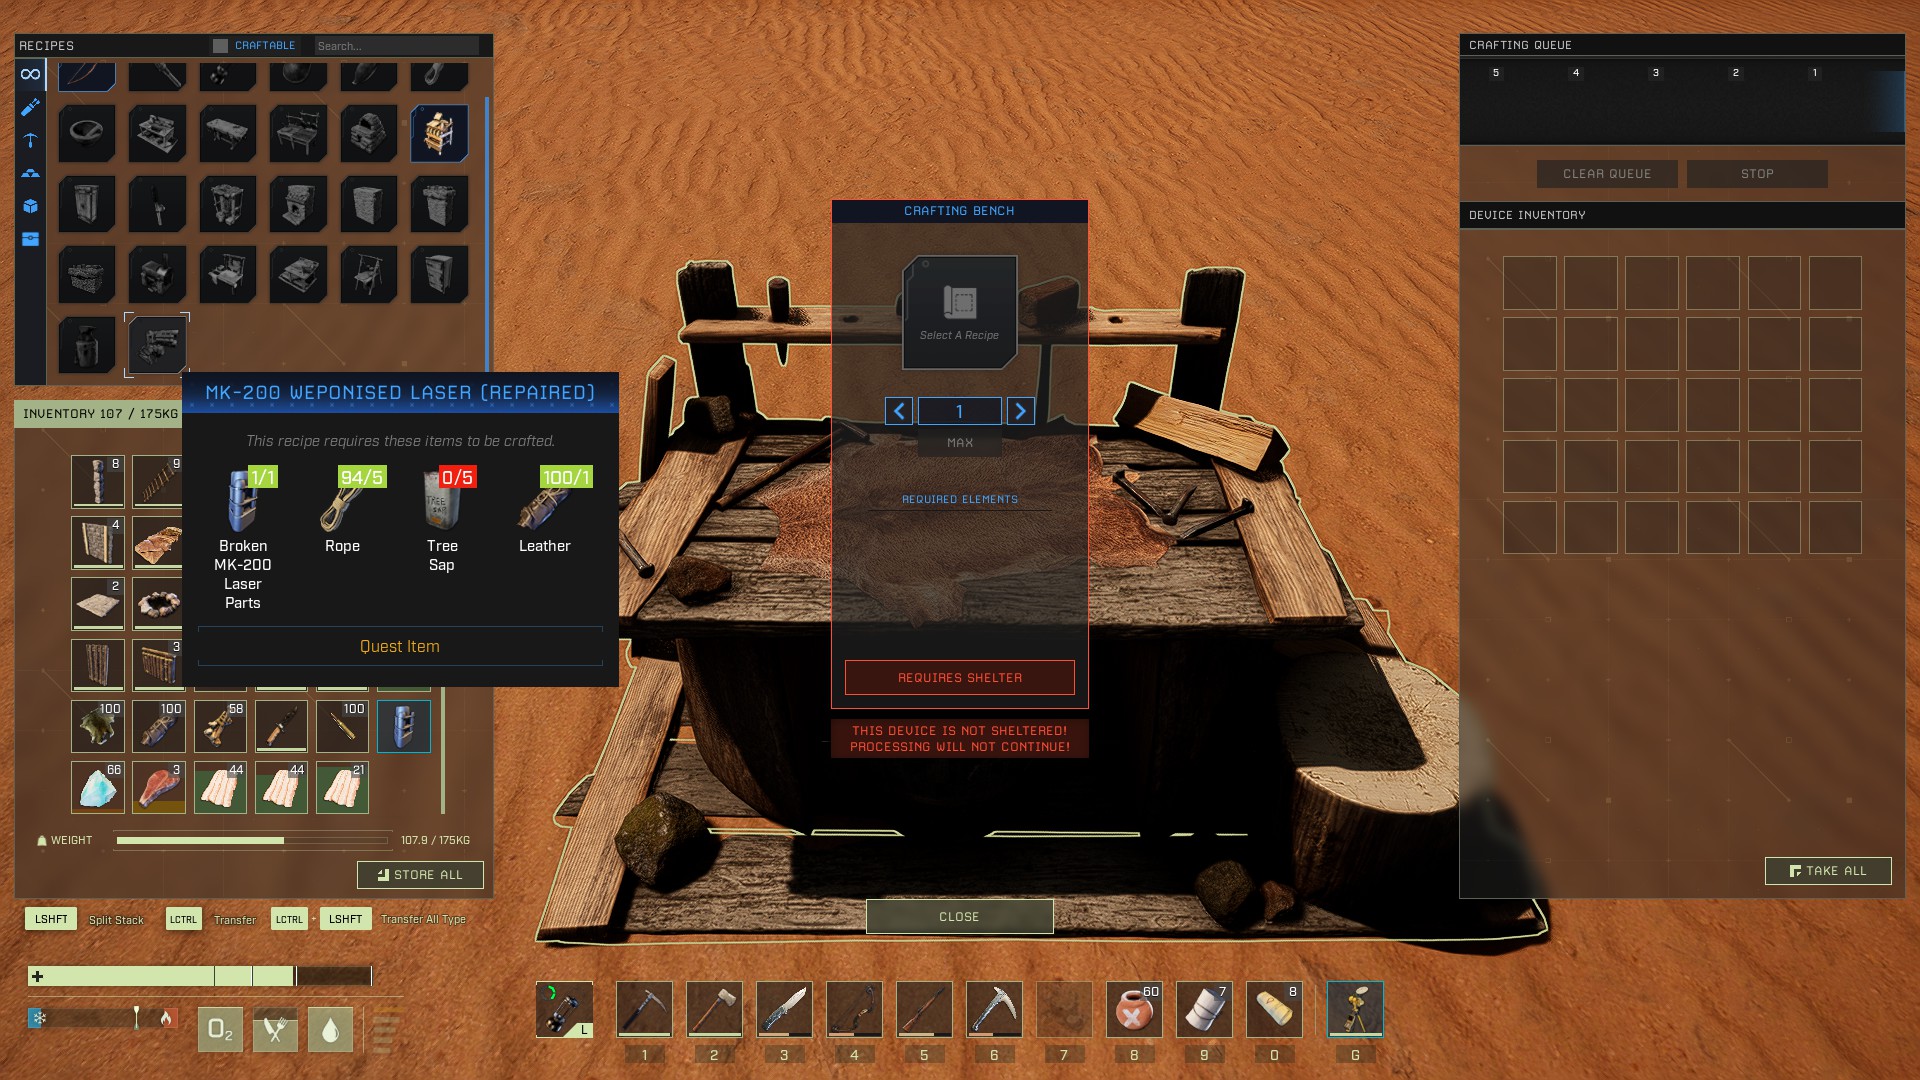
Once you recover the broken laser, a recipe to repair it will become available.You will need a Crafting Bench to repair the laser, and the materials are basic and can be found in the Desert nearby. NOTE: you can harvest Tree Sap from cacti, and craft Rope from Fiber in the Crafting Bench or using the Leather Breakdown talent and character recipe.
A bit of tree sap and leather wraps bound by rope — this laser fix is straight out of MacGyver’s playbook
You need shelter for the Crafting Bench. If you did not bring a portable shelter, you can either head for the transition cave in G3 or find a cave that is closer. There is a cave in the southeast side of a mesa in the northeast part of G5, a few hundred meters north of the butte where you found the broken laser. Deploy the Crafting Bench in the cave and repair the laser.
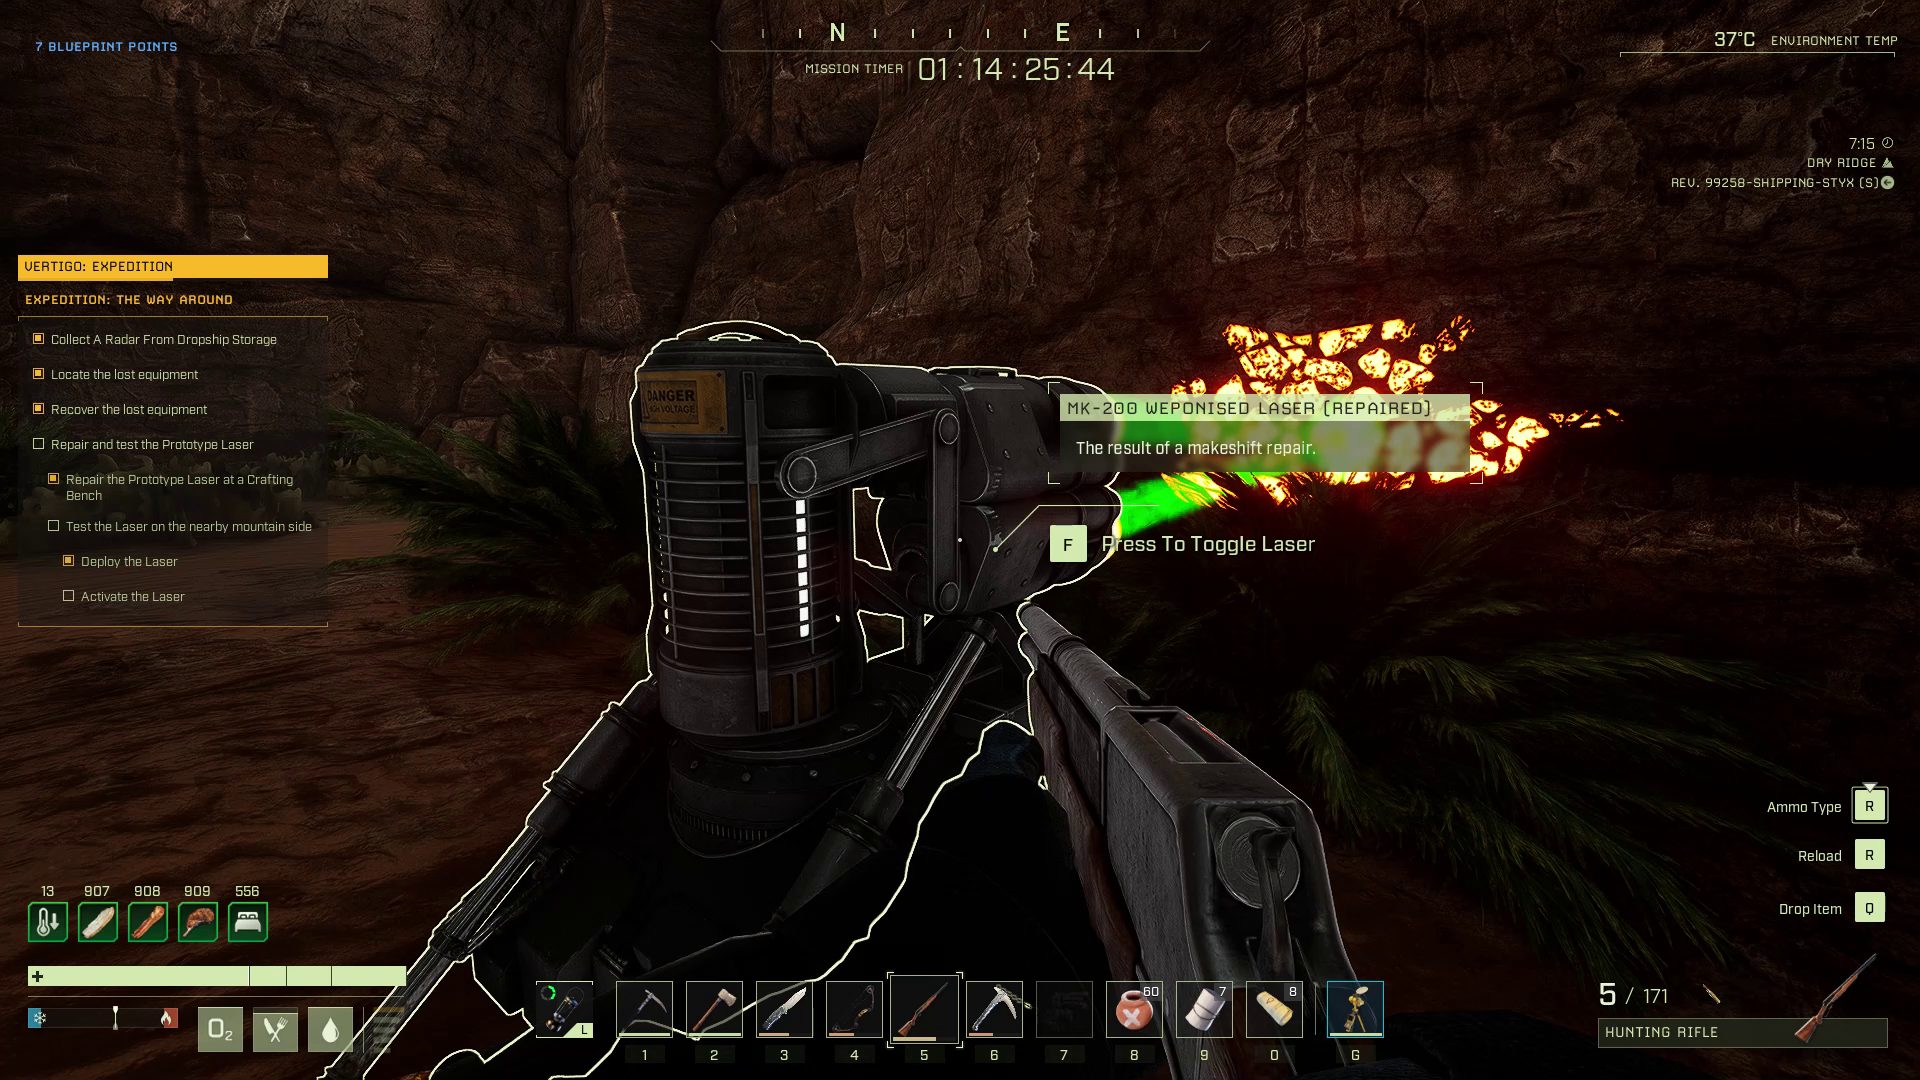
Test the Laser on the Mountainside
Once the laser is repaired, Sol will direct you to test the prototype out on one of the desert mountainsides, at a location in H5 that is now marked on your map. When you arrive, you will find a hologram in the shape of the laser. Place the laser in the hologram and activate it. No predators will be attracted, and the laser will finish its work in a short 30 seconds. The hole it opens up in a new transition cave system, however, is permanent. Pick up the laser and head into the cave.
How tempting it is to just step into the beam! Just a fraction of a second won’t hurt, right? For science!
Test the Laser Inside the Cave
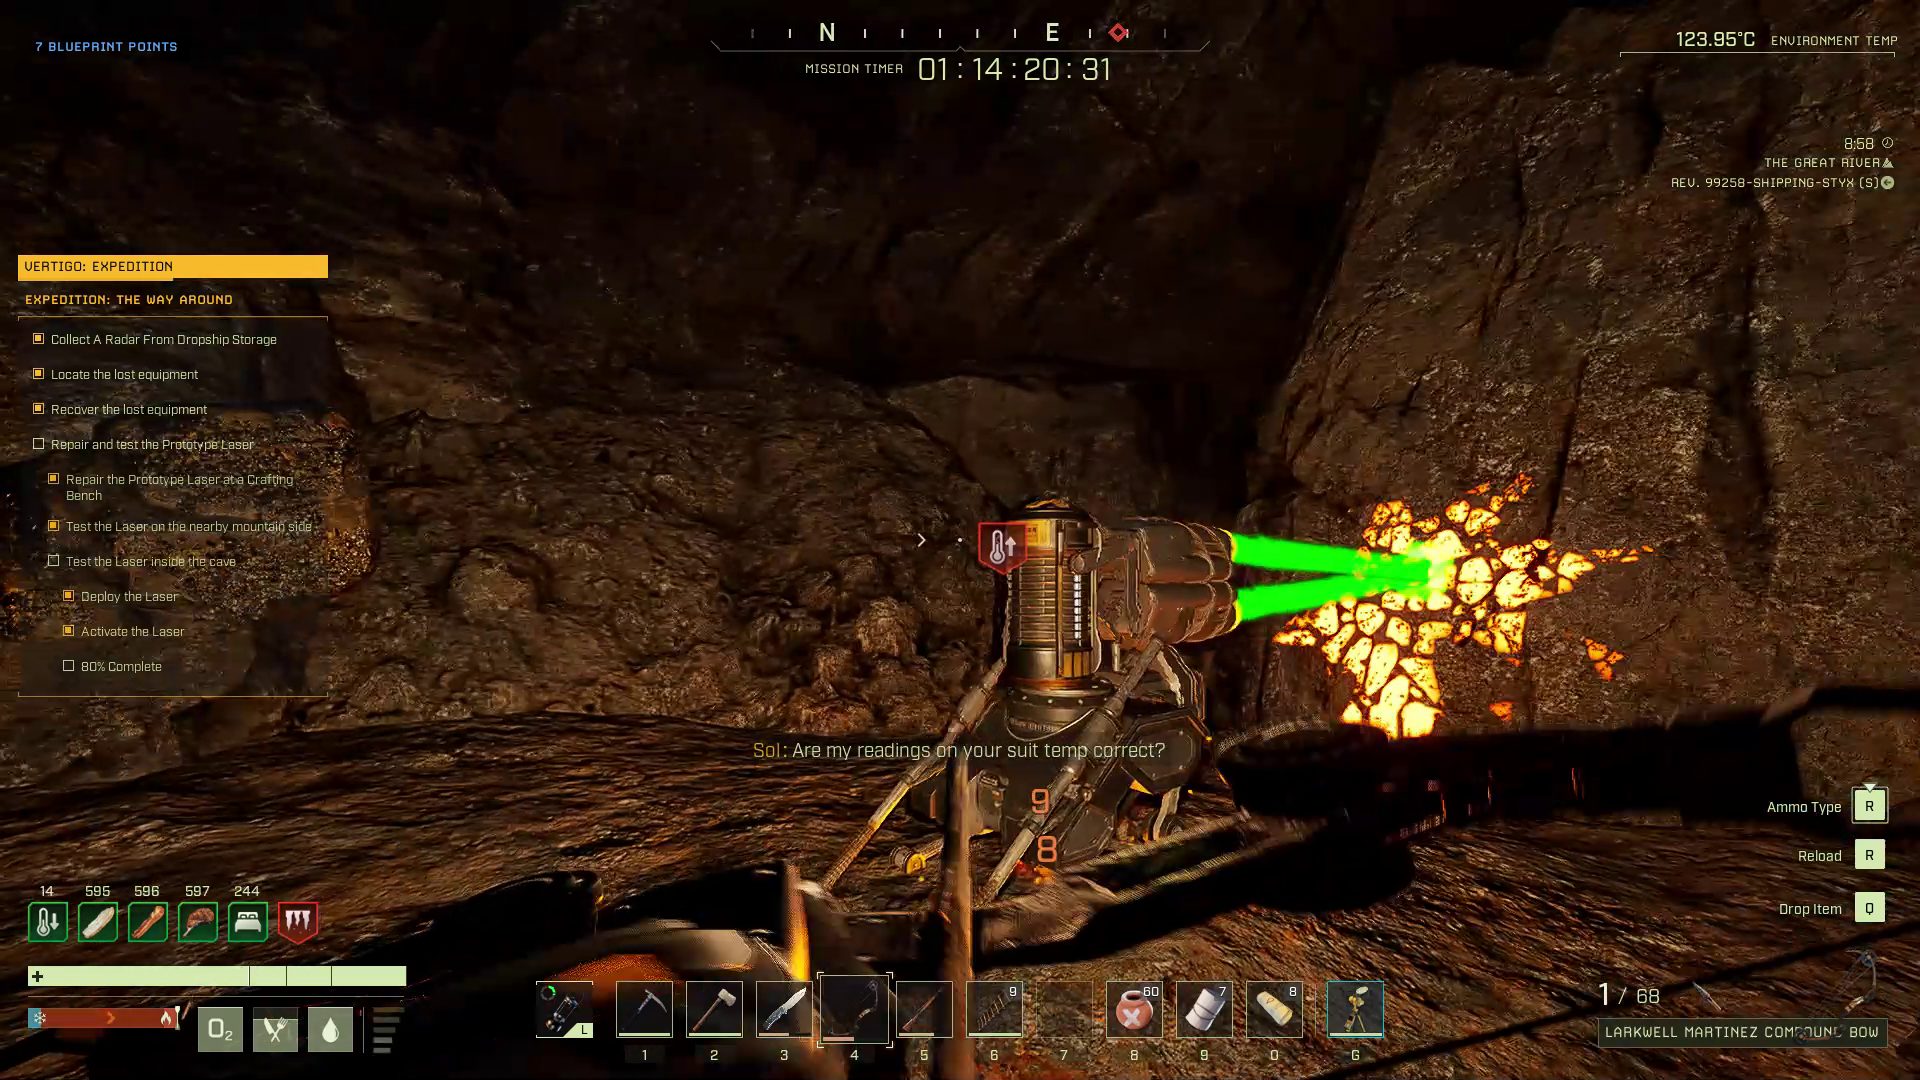
Once you find your way to the wall on the Great River side of the cave system, you will see another hologram for the Laser. Place it inside and activate it again. The laser will advance 1% per second, but every 20 seconds the laser will seize up and you will have to restart it.
Could something be wrong with this prototype laser that you somehow repaired with a few materials that you scrounged up from the desert floor? The laser will progress no further than 80%. Instead, it will start overheating, your suit temperature will spike, and the laser will start taking damage. Sol will warn you to get away from it, and it might be a good idea to heed his warning.
On Icarus, your reward for detonating a prototype laser is always… “Mission Complete”
In a few more seconds, the prototype will fail in explosive fashion, but not before it completes the job and blows a gaping hole through the cave wall to the Great River region beyond. The transition cave is now open, the mission is complete, and you get to decide whether to use the remaining mission time to hunt down the two exotics veins on this prospect.
We hope this walkthrough helped you sail through the scans and avoid any unnecessary…explosions! Let us know what you think in the comments below. NOTE: This is a brief mission walkthrough, a new format we are testing. It lets us cut to the chase with tips and tricks, and allows us to cover the many ICARUS missions and updates as they come out.
Share this article:
SurvivalSherpa
SurvivalSherpa is an avid gamer spending most of his time at the nexus of the survival, crafting, building, and role playing genres on any platform, especially to test indie titles in EA. AFK, life is about work and education in STEM fields, reading fantasy, and sipping great coffee in the Pacific Northwest.