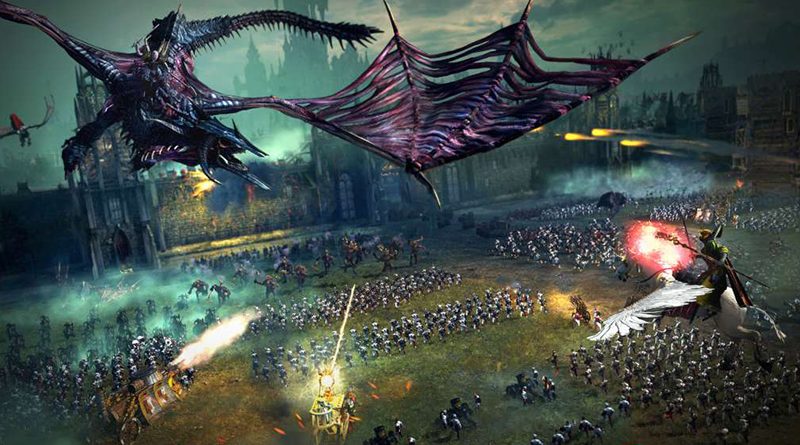
If someone asked me to describe the Total War franchise in one word, I would be at a loss. However, I know the word that I wouldn’t use: accessible. Developer Creative Assembly’s latest installment in their grand strategy franchise, Total War: Warhammer does a decent job at lowering the barrier for new players. Even so, there are a lot of concepts that the game just leaves you to figure out. So, I’ve put together a few hints and tips for stuff that I wish I’d known going in. I’ll divide them into battle tips for the tactical RTS gameplay and campaign tips for the turn-based strategic gameplay.
Battle Tips
Understand the rock-papers-scissors system
I know that I just made a big deal about how complicated Total War’s systems are. However, the real-time battles you fight in Total War: Warhammer, no matter how big or small, can be distilled down to a simple rock-papers-scissors mechanic. In this context, that means: infantry slice up spears, spears impale cavalry, and cavalry decimates infantry. And artillery can obliterate all three (at range). There are some small caveats here and there between different factions, but in general this system is consistent.
I cannot emphasize this enough. If you can’t move your army around the battlefield in an organized and efficient manner to outmaneuver the opposing army, you will lose even the easiest of battles. Second to that is how you set up your army initially during the deployment phase at the start of every battle.
Put your bread and butter infantry (read: swords/shields) on your front line, with your basic ranged troops (archers/hand gunners/riflemen) right behind them to pepper the enemy’s ranged units or rear guard, and cavalry out on your flanks to run out and flank the enemy infantry whenever possible. In turn, position your anti-large units (spears/halberds) on your flanks to protect against the opposing army’s cavalry. Then put your artillery all the way in the back, so it can take pot shots at the enemy army as they advance. Having good long-range artillery will often force the enemy to move first, allowing you to react and shift your army to how they move.

You can adjust this basic setup to fit your playstyle, but this is a good starting template. For example, I usually like to put my archers in front of my melee infantry, at least to start, in order to get a couple of volleys off on the advancing enemy front line before pulling them back. It’s up to you to make maneuvers like this easier”¦
Learn movement hotkeys
The tip I just gave about troop formation and movement can be made a whole lot easier with a couple of hotkeys that the game doesn’t tell you about. For example, after selecting a group of units, you can hold L-ALT, then click and drag the left mouse button to reposition those troops somewhere else on the battlefield without breaking formation. It’s good for making small adjustments on the fly.
Another helpful hotkey tip is using L-CTRL and the grouping mechanic to determine the order of any given group. Say you want a front line of six units, with two spearmen units on either side to protect against flanking cavalry. You would hold L-CTRL, select the first group of spears, then the four infantry units in the middle, then the final group of spears, and hit the G key to create a group. Now, whenever you move that group of troops, they will remain in that order, no matter where you put them.
You can rotate selected troops around the point they’re standing on by holding L-CTRL and using the arrow keys to slightly reposition them; handy for rotating your army to face enemy reinforcements. Hitting the J key will have a unit do a 180 degree turn where they stand. This is useful for having archers turn to face a flanking cavalry charge, for instance. Whatever you do, don’t have multiple units selected when hitting J. Just don’t. It’s ugly.
Turn on the debug camera
If you’re like me, you might have found that the default battle camera in Total War: Warhammer left something to be desired. If so, then you can dive into the game’s script files on your computer and turn on the debug camera, which unlocks the limit to which you can zoom out.
Just navigate to C:\Users\[username]\AppData\Roaming\The Creative Assembly\Warhammer\Scripts and open the file labeled “preferences.script”. In the file, look for the value labeled default_battle_camera_type and change the value next to it to “2”. Then just hop back into the game.
Now in battles, you can go extremely high above the map to get a better view of the battlefield. If you don’t turn on the debug camera, attempting to zoom out will just push you to the tactical map, which is alright, but I prefer this.
Play to your faction’s strengths, and exploit the opposing faction’s weaknesses
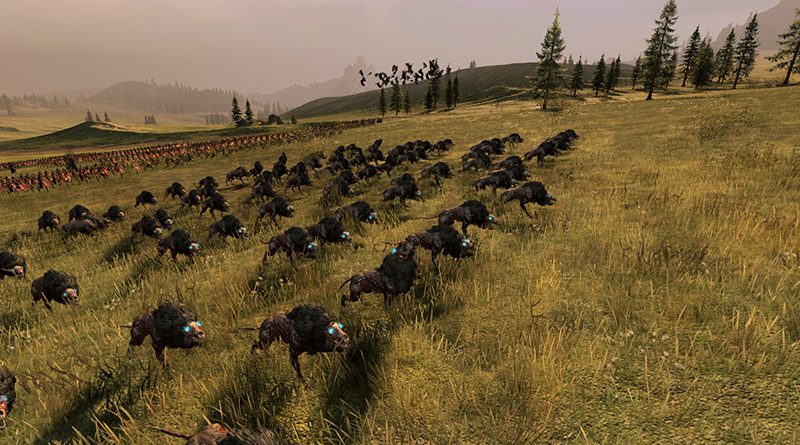
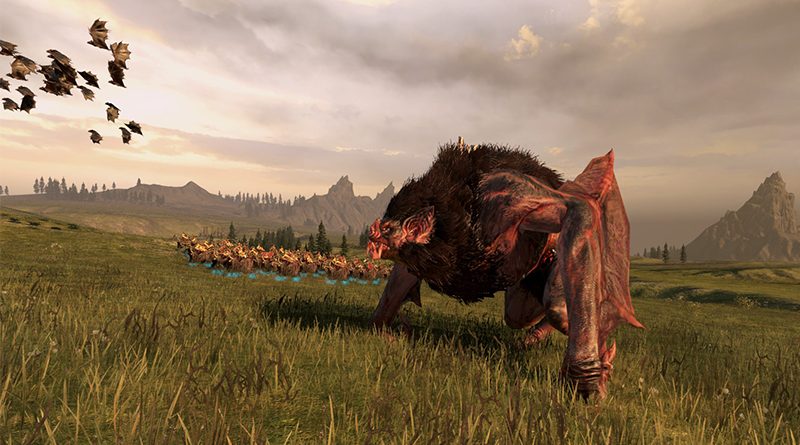
Compared to past Total War games, the playable factions are much more distinct in Total War: Warhammer. Being in a fantasy setting has really allowed Creative Assembly to get”¦well, creative. Each of the four main factions (Humans, Dwarves, Undead, and Orcs) play dramatically differently, both tactically and strategically, and it’s important to know the strengths and weaknesses of each. For instance, if I’m playing as the Vampire Counts (an undead faction), and I’m going up against the Dwarves, I know that I’m going to have to bring a lot of armor-piercing units, as even the most basic dwarf units have very good armor. I also know that my faction has no ranged units, whereas the dwarves depend heavily on them, so I’m also going to need to bring a lot of fast-moving cavalry to out maneuver their artillery and ranged units. Luckily, the vampire counts have some of the best large units in the game. Keep this kind of stuff in mind with your army composition, otherwise you’re going to end up bringing a knife to an artillery fight.
Campaign Tips
First, really appreciate how big the map is
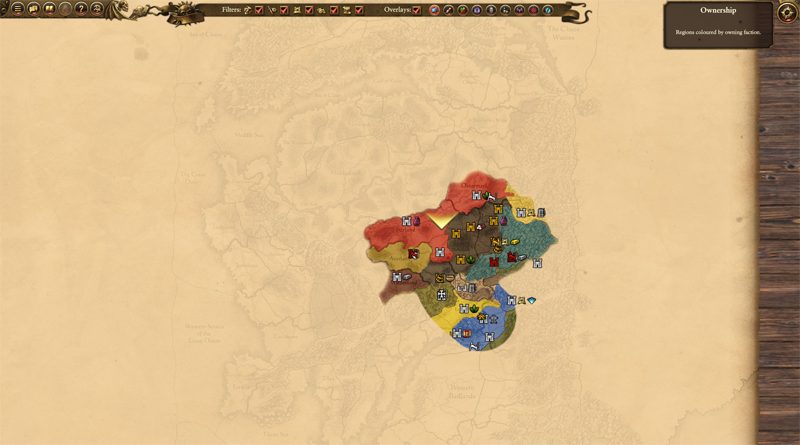
Zoom all the way out. Scroll around. See the verdant valleys of Bretonnia and Bordelaux to the West, the rolling grasslands of the Empire, the barren northern Chaos Wastes. Admire the scale of it all. Aren’t games wonderful? Right, now then:
Plan your cities and settlements
The way that you expand your control over the map in Total War: Warhammer is through the occupation of settlements and capitals. These capitals and settlements make up provinces. Each province typically has one capital and between 1-3 settlements. Take all the cities in a province, and you can issue a commandment that will provide a huge bonus for it.
Once you’ve conquered all the cities in a province, it’s important to plan out how you’re going to place buildings in them. The capital can be upgraded five times, and the buildings within them upgrade alongside them. At the highest level, this allows you to construct the highest level military buildings, and subsequently train the highest level units. Settlements can only be upgraded three times, so there’s no point in slapping down a building that has five upgrade levels when you’re only going to be able to access the first three tiers.
That’s why settlements are better for boosting your economy. Farms, workshops, etc. – these can all be used to increase your income per turn, and for the most part only have three upgrade tiers. It’s also important to note which settlements have access to trade goods, as these cities have unique building chains that will allow you to harvest those goods and then sell them to your neighbors for a tidy sum. Trade increases income, which bolsters your treasury, which allows you to field more armies, which allows you to expand your territory further.
Settlements are also a good place to put buildings which bolster public order, which is essentially how angry or happy your populace is. Speaking of public order”¦
Don’t piss off your own people (with some exceptions)
Maintaining public order in your territory is essential if you plan to win the long game. After you conquer a province, public order will understandably be in the toilet. People are pissed you just killed their ruler. This “provincial instability” penalty will slowly go away over the course of ten turns. In that time, it’s important to not try and expand your territory further, and rather focus on stabilizing the territory you just conquered. If you don’t do that, then you’ll be in the middle of a war with your neighbor when suddenly, a rebellion has started behind you. Then, you’re sandwiched between the enemy faction and insurgents from your own faction, which is just no fun.
However, allowing rebellions to happen early on is a good way for your troops to gain some easy XP and level up. Simply allow the rebellion to build up for a few turns before running in and stomping it. This does feel a bit like cheesing the system a bit, but that edge in experience for your units might just save you further down the road.
Establish friendly diplomatic relations with your neighbors as soon as possible
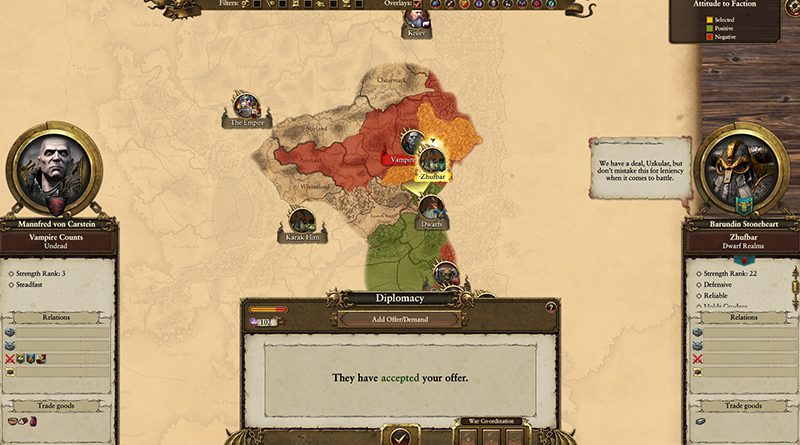
While some factions are better diplomats than others, it’s generally a good idea to try to stay on good terms with your neighbors. In the first couple turns, try to establish non-aggression pacts with your neighbors. After that, try to establish a trade agreement or defensive/military alliance, so you can come to each other’s aid if you need it. The end goal here is to get your neighbor to confederate with your faction, giving you control over all their cities and armies. You must be very friendly with them to do this (In my experience, the AI doesn’t bite if their diplomatic score with you is lower than 200), so starting these relations early on will allow you to unite that much quicker in the mid to late game.
It’s important to note that depending on your starting faction, other factions will either have an “affinity” bonus or an “aversion” penalty for lore-based reasons. For example, all the outlying provinces of The Empire faction are distrustful of the central powers, so they start with a penalty to their diplomatic score. Dwarven factions generally get along with each other. The orcs hate pretty much everyone. The wood elves just want to be left alone. Keep this in mind when deciding who you want to be your friend.
Use the different army stances
Your army can move around the map in one of five stances. They are: normal, march, raiding, ambush, and encamp. You can switch between any of them in the bottom left corner of the screen, and it’s important to choose the right stance for any given situation. The march stance increases your movement range, but disables recruitment and makes all your troops tired in battle. The raiding stance will both increase your faction’s income as well as decrease the public order in whichever province you’re in, making it a good way to anger an enemy faction and get their armies chasing after you. The ambush stance hides your army and should an enemy army walk within range, you can spring out and attack them at an extreme advantage. The encamp stance will allow you to recruit new troops no matter where you are, as well as provide a defense and morale bonus to your troops should you be attacked. Finally, if you’re playing as the dwarves or orcs (and now beastmen with the Total War: Warhammer Call of the Beastmen DLC), you can use the “underway” stance, which allows you to move around otherwise impassable terrain, such as mountains, making it useful to get around quickly.
Finally, don’t give up when everything feels hopeless
There are going to be moments in your campaign where you’ll feel surrounded and like all is lost. You made a mistake and decided to fight wars on three fronts because you thought you could handle it, and got punished for your hubris. You’ve fallen all the way back to your home capital and are holed up against armies that besiege you on all sides. Just remember that in Total War: Warhammer there’s always a way out. Be it a terrain advantage, a well-placed spell, or an opportune cavalry charge, the slightest thing can change the entire tide of a battle, and subsequently a war. Cherish those moments, because they’re what makes this game what it is: a well-crafted masterpiece.