Hidden within the Mausoleum of Ketheric Thorm, you will find the immense Gauntlet of Shar. One of the biggest dungeons in all of Baldur’s Gate 3, the Gauntlet is home to deadly enemies, tricky puzzles, hidden rooms, and several dangerous trials, and can be overwhelming (even for a Sharrite). Fear not, though: in this walkthrough we will help guide you through the Gauntlet of Shar, uncovering its many secrets and passing its many trials so that you can reach the Nightsong.
Map
Points of Interest 1 – Grand Mausoleum 2 – Stained Book 3 – Thorm Puzzle 4 – Dark Statue Puzzle 5 – Main Crossroads 6 – Ancient Altar 7 – Elevator 8 – Balthazar’s Servants 9 – Balthazar 10 – Lurker Ambush 11 – Vault 12 – Soft-Step Trial 13 – Self-Same Trial 14 – Faith-Leap Trial 15 – Silent Library 16 – Yurgir 17 – Spider Meat 18 – Sharran Provisions 19 – Mirror of Loss 20 – Broken Effigy 21 – Ancient Altar 22 – Nightsong
Before you can reach the Gauntlet of Shar, you will first need to uncover it from the Grand Mausoleum, where you will begin. Aside from a map indicating a connection with the Gauntlet of Shar itself, the Mausoleum itself is suspiciously loot-free. In a game like this, that should be a hint itself. In order to actually access the Gauntlet, you’ll need to complete the Thorm Puzzle (#3) in the Grand Mausoleum first.
In the east wing of the Grand Mausoleum, you can find a stained book. This book reveals the solution to the Thorm Puzzle elsewhere in the Mausoleum, if you don’t want to brute force it. The text inside this book states: “In order to find what lies beyond this mausoleum, one must walk in his own footsteps, deed by deed. From splendour, to tragedy, to infamy.”
A trapped room requiring you to enter the Thorm puzzle in the correct order. On either side of the entrance to the tomb itself, you will see portraits depicting Grief and the Moonrise Tower, with a button below each. At the end of the room, a portrait of General Ketheric Thorm sits, likewise with a button. If you press the buttons in the wrong order, then the vents in the room (DC 15 Sleight of Hand check to disable) will spew toxic darkness into the room, damaging you.
In order to get through the Thorm puzzle, you will need to refer to the Stained Book (#2). It will indicate that you should go “from Splendour, to Tragedy, to Infamy.”
This indicates that you should press the buttons below the portraits in the following order: Moonrise Tower, then Grief, then Ketheric Thorm himself.
Once you press the buttons in the right order, regardless of if you triggered the trap earlier, a secret door will open, leading to a traversal gem leading to the Gauntlet of Shar itself.
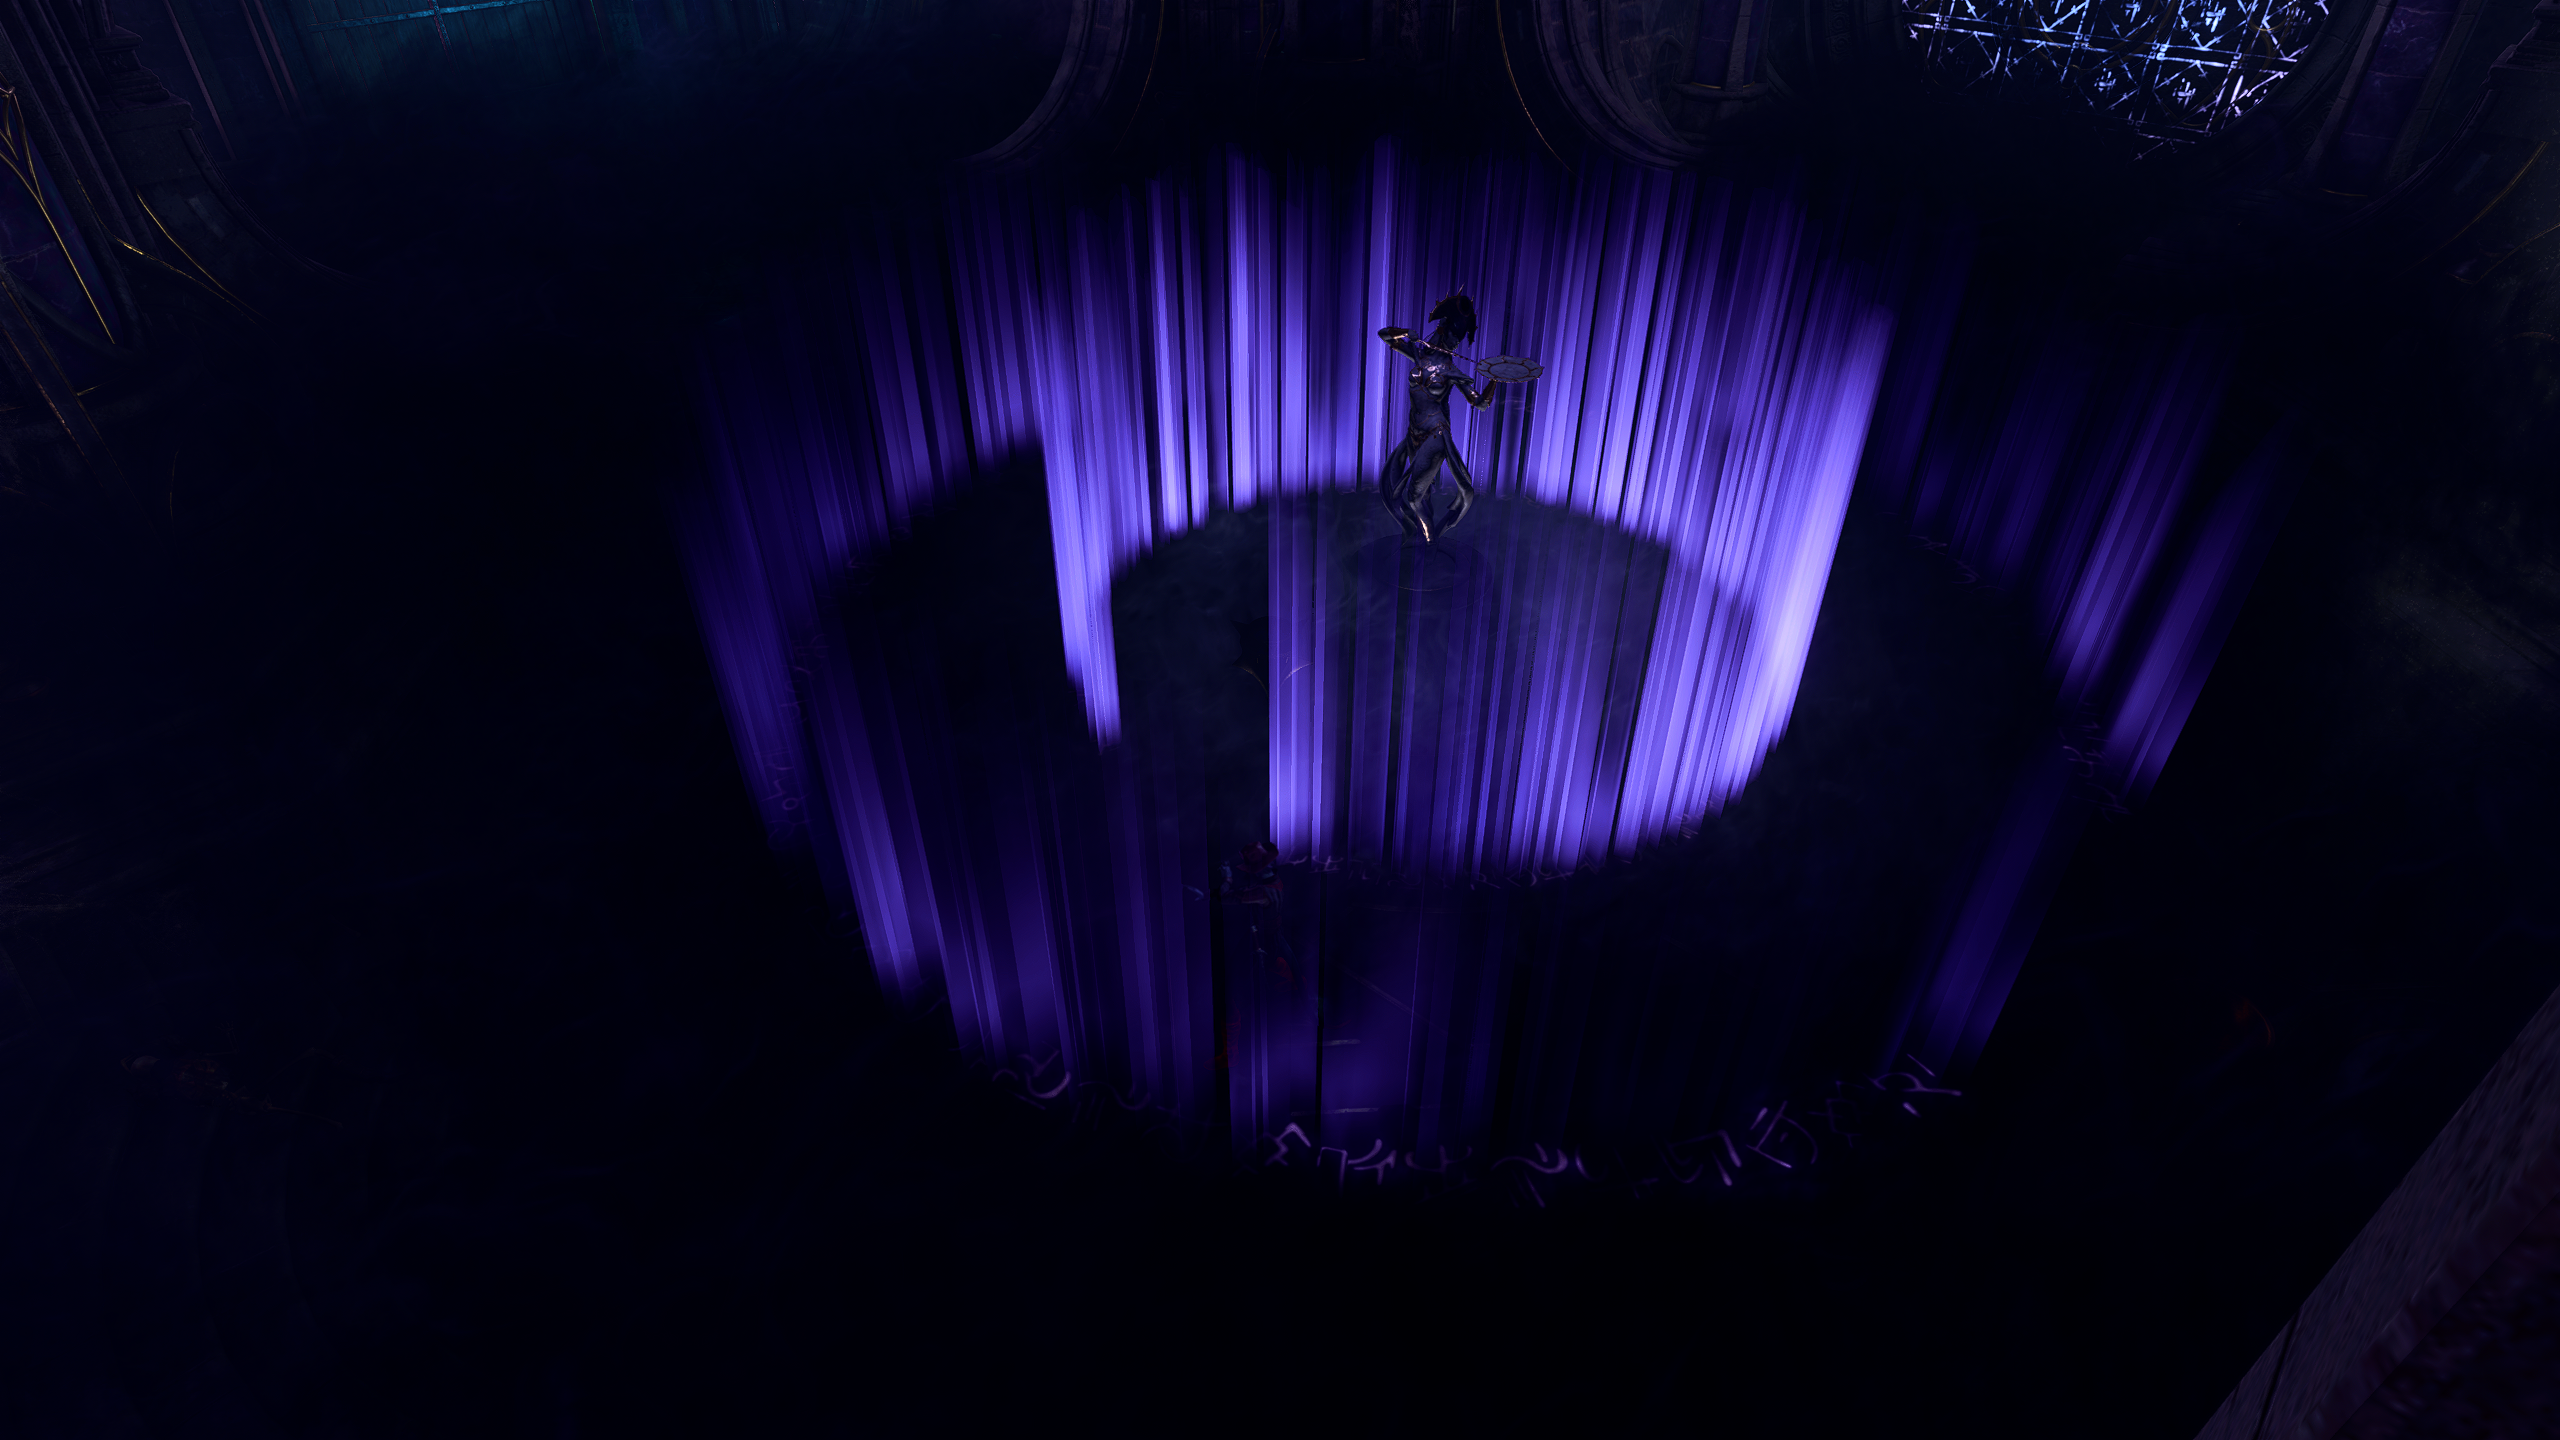
As you enter the Gauntlet proper, you will see a statue with an Umbral Gem in front of it. However, if you attempt to reach it, you will find yourself repelled by a magical field that you can’t see. You’ll need to find a way to get around it if you want to open the main door to the chamber.
Firstly, this puzzle is best approached with an individual character with high Perception and Sleight of Hand, as it requires tight maneuvering and avoiding lots of traps.
That said, this puzzle is fairly simple: the barrier will be revealed when the room goes dark.
In order to complete it, you need to go into each of the four side crypts and pull the levers, which will lower 2 lanterns each. Interacting with all 8 lanterns to extinguish them will cause the room to become dark, allowing you to very clearly see the path to the Umbral Gem.
There is a secondary path, however: if you trigger any trap in this area, darkness will fill the room you will be able to make out the faint outline of the barrier, which you can weave into and around to reach the Umbral Gem. Beware that this will cause you to take damage over time, something especially dangerous given the combat that awaits you along either path forward.
You can also bypass this entire area if you go to the west, toward the Lurker Ambush (#10). Otherwise, if you solve the puzzle normally, a door will open leading to the Main Crossroads (#5).
When you enter this chamber, you will soon be attacked by a group of Justicar, all spawning out of 3 Umbral Tremors that will appear around the room. Provided you entered through the front passage and didn’t attack Balthazar by going through the Lurker Ambush (#10), you will have the help of a few Reconstituted Duelists and a Marksman, but they won’t be able to do much.
During this fight, it is important to focus on destroying the Umbral Tremors, otherwise they will continuously spawn more Justicar Avengers. These Tremors are not especially strong, and have no defenses of their own, but they can quickly overwhelm if left unchecked.
In front of the giant statue of Shar, on a platform, you will be able to find an Ancient Altar. In order to reach the lower section of the Gauntlet (which will then require more Umbral Gems), you will need to insert 1 Umbral Gem into the open slot of the Traversal Gem , which can be acquired throughout the Gauntlet from several places:
While you only need to insert 1 Umbral Gem into the Traversal Gem to reach a secret lower area of the Gauntlet, you will immediately be met by a door with another Ancient Altar, requiring you to insert 3 more Umbral Gems once you get there (#21).
Across from a warp portal, there is a broken elevator. The lever required to fix it is near the entrance at the bottom, requiring you to either go around the long way by taking the stairs, or to Feather Fall or Grant Flight your way down it. There are no enemies in the way either way, so you can repair it easily for ease of access to the Faith-Leap Trial (#14) and Silent Library (#15).
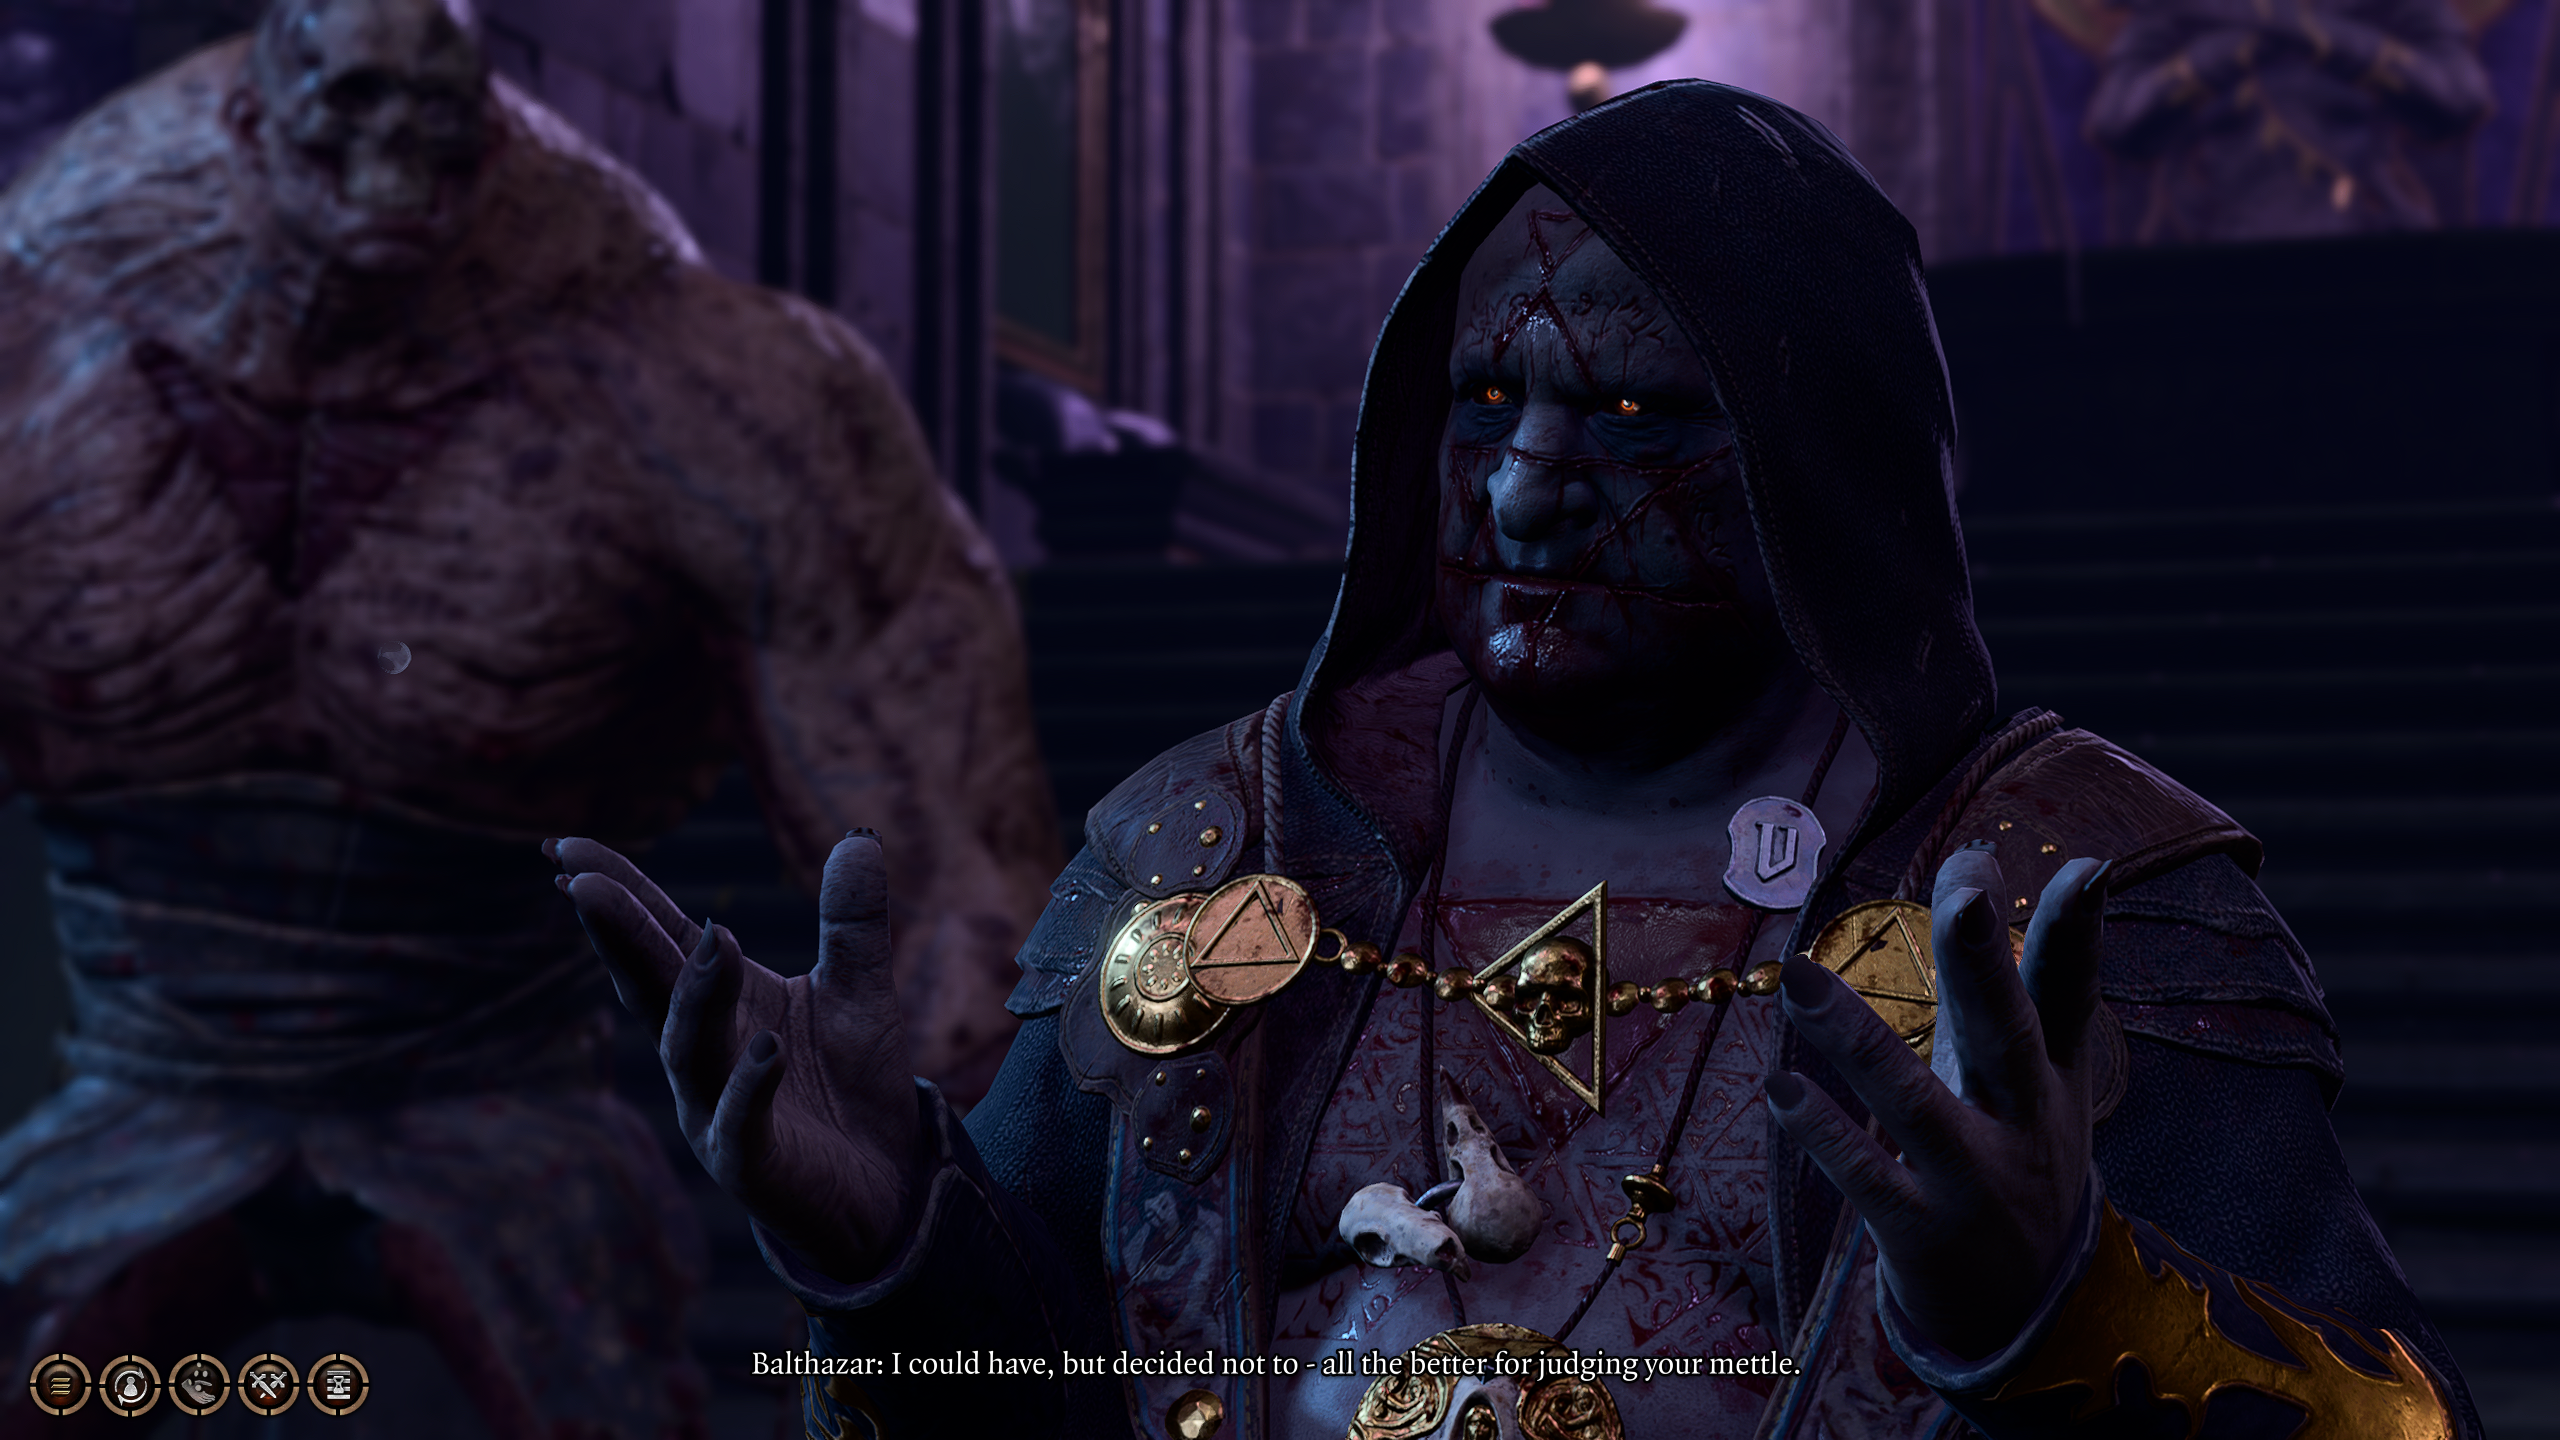
Balthazar, Ketheric Thorm’s necromancer, has set himself up here, in the Gauntlet, as he tries to locate the Nightsong. Outside the chamber where he keeps himself safe while he studies, he has set up many Reconstituted Servants, who will be friendly to you as you approach. However, you will quickly be assaulted by more Justicar, like you probably encountered at the Main Crossroads (#5).
In the same way as before, your primary focus in these sections should be destroying the Umbral Tremors that will appear sporadically around the arena. While you do need to survive the onslaught of the Justicar that spawn from them, in order to stop more from coming you will need to destroy those.
Once you’ve dispatched the attack, the door leading to Balthazar (#9) will open, letting you talk with him.
Once you have access to Balthazar, you will get a chance to meet Ketheric’s grim necromancer yourself. Succeeding on a DC-14 History check will reveal more about his origins, and if you have already visited Moonrise Tower when you encounter him, you can mention that he needs to return, but either way he will insist that he needs to find the Nightsong (#22) within the Gauntlet first.
At this point, you will be presented with two choices when it comes to Balthazar: you can either help him reach the Nightsong (#22), or you can fight and kill him here. If you opt to help him for now, you will have a chance to turn against him later, and he will provide you with valuable insights and the ability to summon his Flesh Golem brother, Flesh.
However, you can eliminate him here, removing him from the equation by the time you reach the Nightsong (#22) yourself. If you do so, be ready for quite a fight, as you will need to take on not only the powerful Flesh and Balthazar, but also all of Balthazar’s Reconstituted undead who will try to swarm you from outside. After defeating Balthazar.
By traversing through some broken walls, you can bypass the statue puzzle (#4), and encounter a Lurker on the way there. This powerful foe can generate duplicates of itself to more easily take you on in combat, and can sometimes be a surprisng challenge depending on your positioning.
Once you defeat the Lurker, you will have access to a chest in this mushroom-filled area. To the north, there is also a Sharrite Altar that can reveal a bit more about Shadowheart or yourself if you interact with it.
This vault is filled with numerous goodies, but it is behind one of the most difficult locks in the game. In order to lockpick the door, you will require a critical success or a DC-30 Sleight of Hand check with Thieves’ Tools.
Or, more simply, you could just use the Knock spell, since the lock is mundane.
Once inside the vault, amongst many other randomized pieces of loot, you will find the Callous Glow Ring.
Gauntlet of Shar Trials
The next 3 entries explain how to complete the Trials in the Gauntlet of Shar. They are puzzles, so if you’d rather solve them yourself, you can skip to the Silent Library here to avoid spoiling things.
Before any of these trials, you or Shadowheart (if she is in your party) will need to spill some of your blood into ceremonial bowls before each Trial. Shadowheart will insist on doing this if she is present, but it will work either way to activate the trials.
These trials will provide you with 3 of the 4 Umbral Gems you need to reach the Nightsong, with the final one being near Yurgir (#16) on the other side of the Gauntlet.
This Trial is one of stealth, so picking a character with high Stealth or using the Invisibility spell works the best. In the Trial itself, you will be confronted with 3 gates leading to the same place: a short maze. If you are spotted by the Shadows in the maze, or caught in its traps, you will be teleported to the beginning of the maze. You need to get to the end of the Trial and open the final gate either using a key found within it, or by lockpicking it, in order to gain access to the Umbral Gem.
The Soft-Step key can be found in a hidden chamber, which you can open using a lever about halfway through the maze.
You can bypass this Trial with clever use of teleportation and sightlines, teleporting straight to the last door and lockpicking it without even having to sneak past the shadows.
The Self-Same trial can be one of the trickier Trials, depending on your party composition. This is because, for this Trial, you will be fighting yourselves — the Trial will create a doppelganger of each of the members of your party, equipped with all the same gear and abilities of the actual members, and you will need to defeat them to complete the trial. There are, of course, ways to game this system, but if you are keen to take on the Trial as intended, then there are a few tactics:
When possible, try to attack each doppelganger with its original. If you attack any other doppelganger, your ability scores will be reduced until your next long rest.
However, don’t let that dissuade you from targeting other doppelgangers than a character’s if it makes sense tactically.
Knowing your skills and making use of them will be critical: you can use your abilities smarter than the enemy AI can, so leverage that for clever decisions.
In addition, there are also a few ways to “cheese” the fight, making it a breeze:
Unequiping everything from your party (including armour and weapons) and then entering the fight will let you re-equip your items, while the Doppelgangers will be forced to fight unarmed and unarmored.
Splitting your party so you can send Shadowheart in alone, and then lockpicking the entrance to the Trial, will allow the other 3 members of your party to enter without creating doppelgangers, letting you destroy the singular Shadowheart-shaped doppelganger with ease.
In either case, defeating your doppelgangers will reward you with an Umbral Gem, as well as the powerful crit-creating Killer’s Sweetheart ring.
The last of the Trials, the Faith-Leap Trial sees you have to navigate a path over an abyss, which turns invisible as you cross it. From a distance, you will be able to see the outline of the paths. Once you are close, however, they disappear.
You can cross the abyss by memorizing the path from a distance, and then crossing the hidden platforms according to that. You can also use Grant Flight, Dimension Door, or essentially any other traversal spells or effects in order to cross the gap without worrying about the paths at all.
Once you make it to the end of the trial, you’ll be able to grab another Umbral Gem.
The Silent Library is not technically a Trial of Shar, but it is required if you want the full gamut of options when you encounter the Nightsong later (#22). Before you enter the library, you can see a shimmering doorway; this shimmer indicates where the Silence effect will begin, which will cause your spellcasters to be unable to use spells.
The origin of the Silencing effect is a caused by an Umbral Tremor (which you probably encountered earlier at the Main Crossroads (#5) and with Balthazar’s Servants (#8)) called the Librarian, which will also spawn in Justicars to fight you at the same time. This fight can be brutal for a magic-focused party, and so you should prioritize destroying the Librarian to end the Silence effect as soon as possible before clearing the library from enemies.
Once you’ve cleared the library of enemies, go to the room at the end and open the gate by pressing the button to the right of the gate. Pressing any other button in this room (without disarming it with a DC-14 Sleight of Hand check) will spring a deadly lightning trap.
Once open, you’ll find a pedestal with a riddle nearby, asking “What Can Silence the Nightsong?” To complete this area, go to the library and go to the North-Easternmost bookshelf. It is armed with a trap that you can disable with a DC-14 Sleight of Hand check, and then acquire “The Teachings of Loss: The Nightsinger”, a book. Place that book on the pedestal in the gated room, and you will uncover a secret room behind the portrait to Shar
This room will contain the quest-essential Spear of Night, as well as the Dark Justicar set of armor.
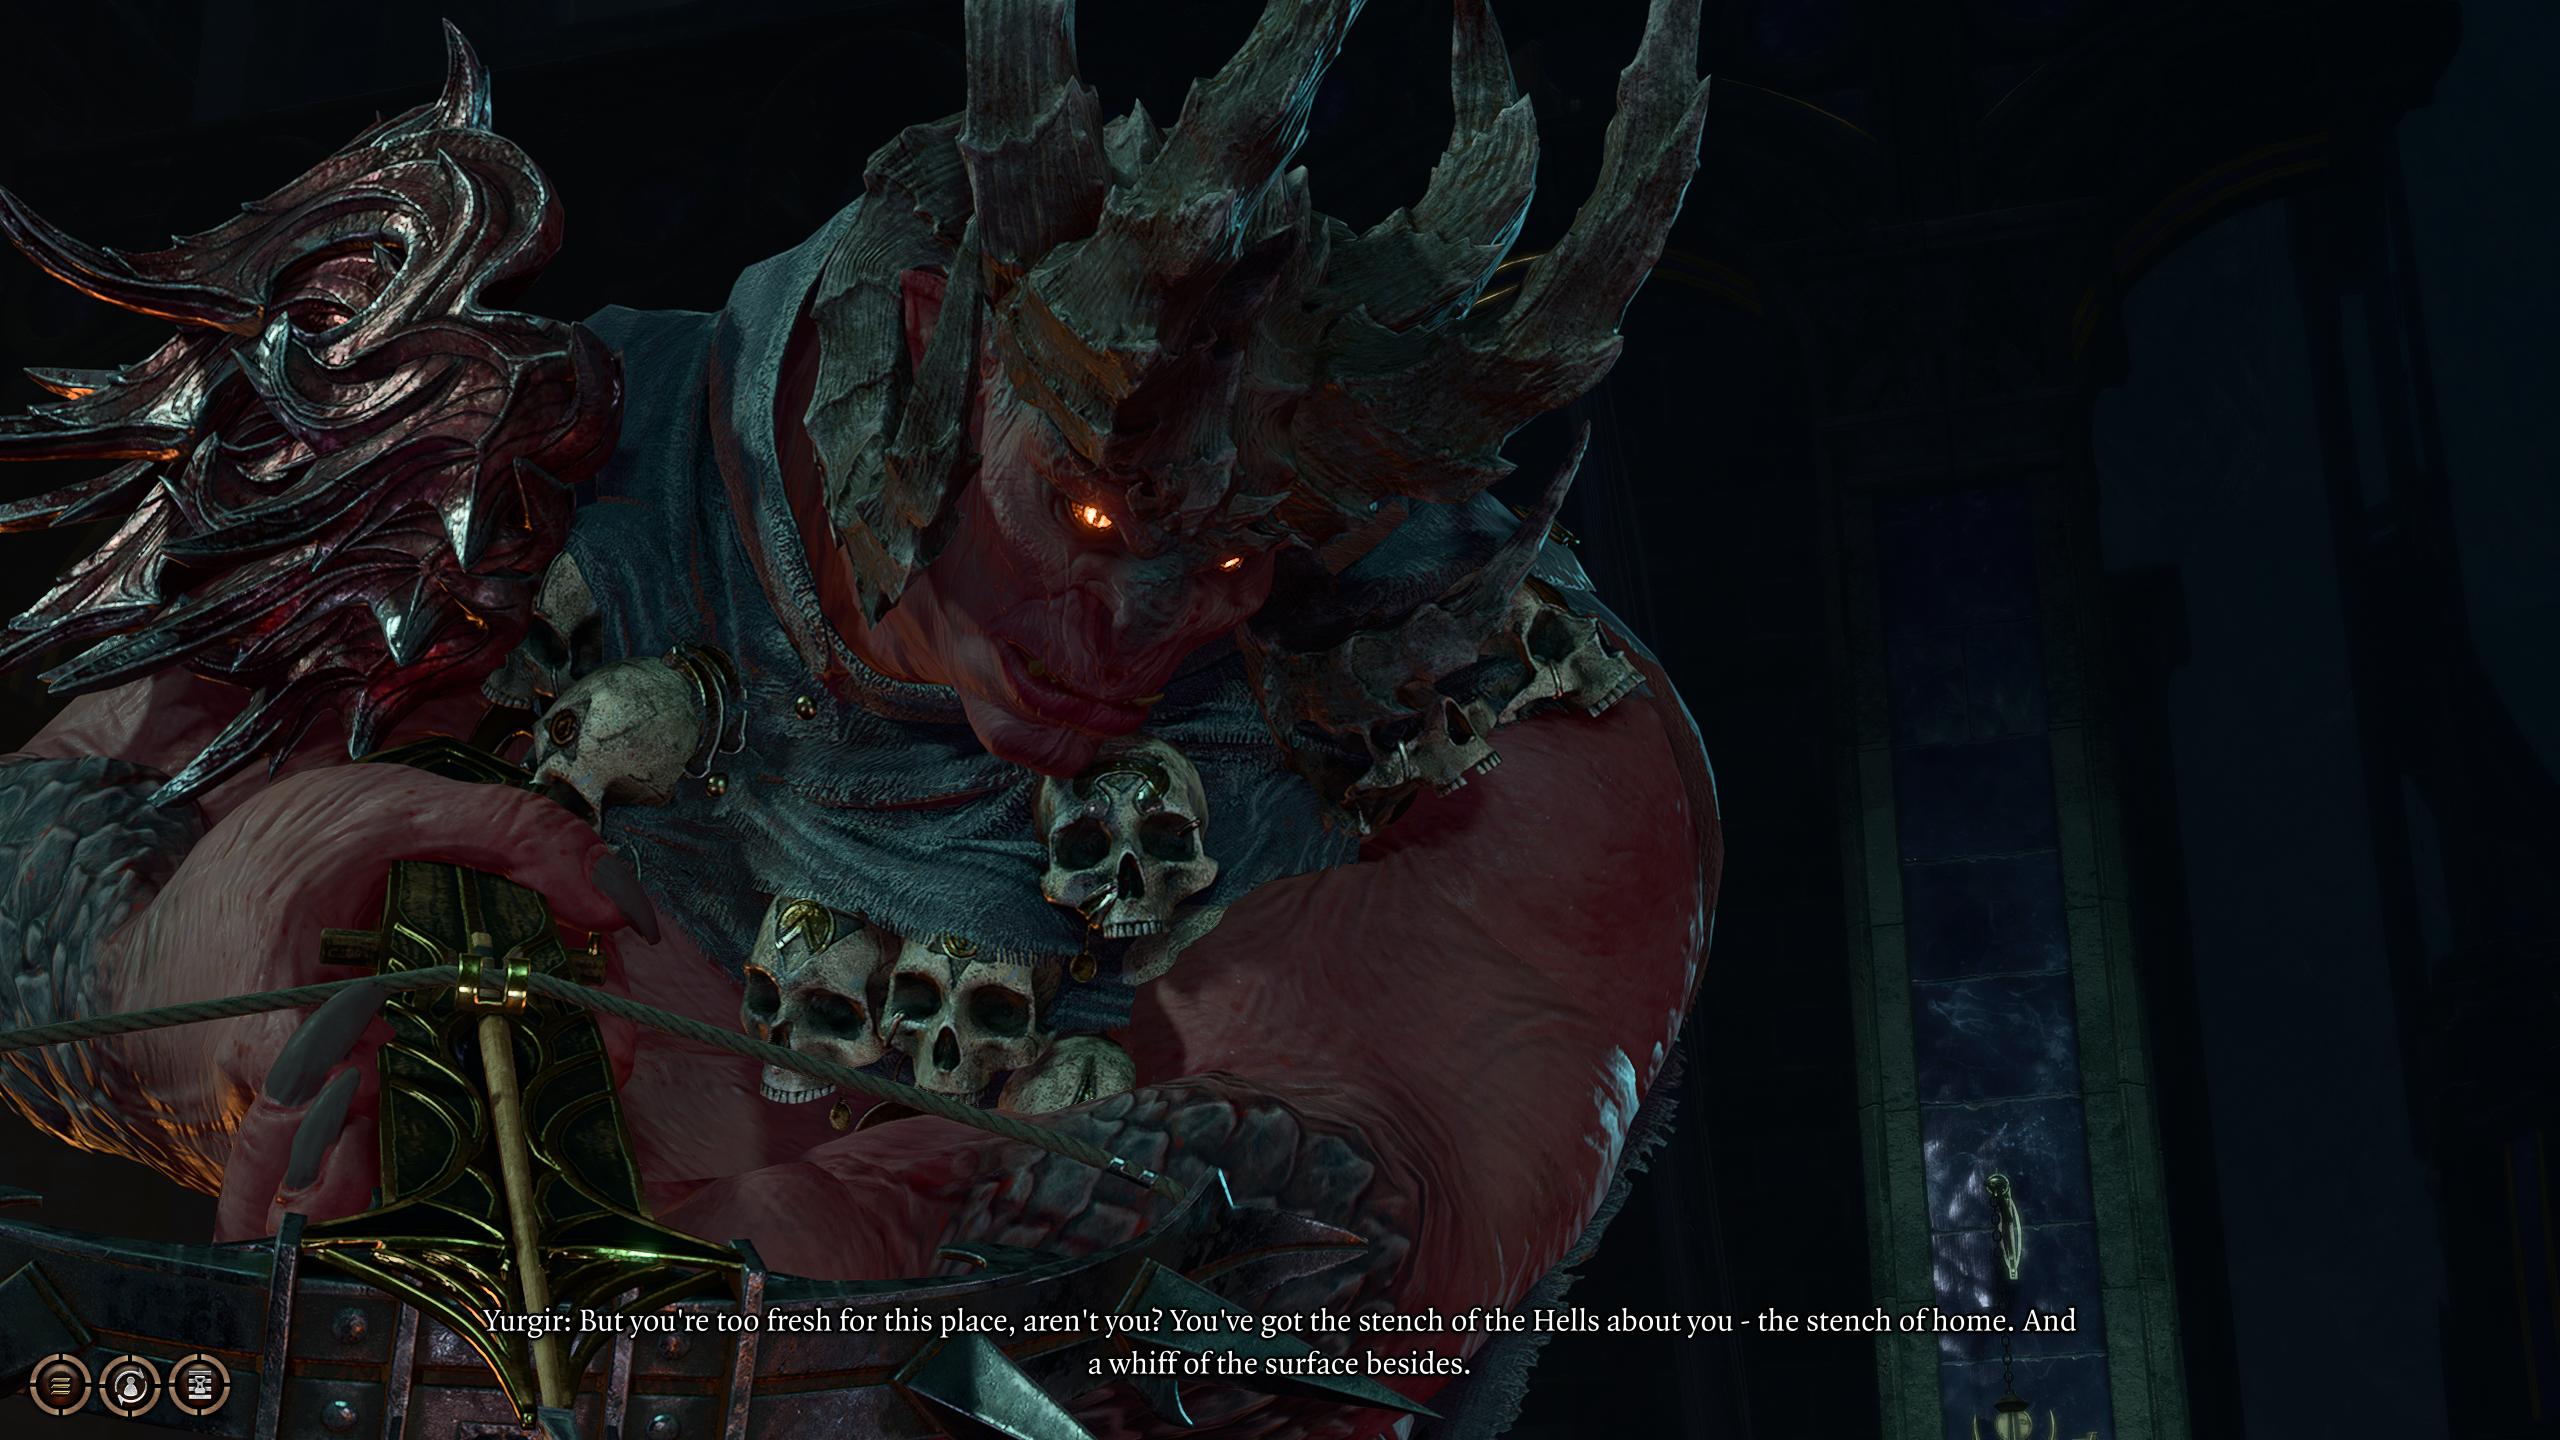
If you go down the eastern path (to the right) at the Main Crossroads (#5), you will soon see a creature of some sort — you’ll later learn this to be a Displacer Beast — disappear into a hallway to the left. Then, it will do the same into a large, well-lit room. Following it into this, and you will quickly realize that you’re surrounded by Yurgir, an “orthos” belonging to Raphael, and a group of merregon minions and his displacer beast.
The player will have been tasked by Raphael at the entrance to the Gauntlet (back in Reithwin Town) with killing Yurgir, which is always an option. Yurgir is a tough fight, but is no harder than the various Thorms in Reithwin Town. However, there are other ways to deal with this problem, should you choose.
The most immediate way to deal with Yurgir without combat, or at least with easier combat, is to convince him that Raphael’s contract meant something other than what it did. By passing a DC-16 Persuasion check, you can convince him that his minions can hear the song, and should be dispatched. A similar DC-21 Persuasion check can convince him to also kill his beloved dispacer beast. And, finally, another DC-21 or DC-30 (depending on circumstances) Persuasion check will convince him to kill himself. Failing any of these checks, however, results in immediate combat.
A more peaceful resolution can be achieved, however, by helping Yurgir fulfill his contract. Before you are able to do so, you will need to convince him that you can help him by passing a DC-16 Persuasion check to let him give you the chance to investigate yourself and see if you can find the final Dark Justicar needed to complete his contract. If you do manage to avoid being killed by Yurgir immediately, you can cast Speak with Animals to speak with the Displacer beast to learn a bit more about the nature of their relationship (which may be bolstered by something in the Spider Meat (#17)).
If you do this, you will need to find all of the rats in the entire Gauntlet and kill them. The last Dark Justicar is hiding, his consiousness spread across the entire swarm. As you do so, the rats will grow more and more desperate, even offering to share with you the location of Sharran Provisions (#18), but if you are committed to helping Yurgir, you’ll need to eliminate all the rats.
When you make it to the last rat, he will transform into a Dark Justicar and, after expressing his fury, attack you. Killing him at this point will technically complete Yurgir’s contract, and you can return to him to let him know. Raphael will be there to discuss contingencies but, regardless, Yurgir will be satisfied.
Regardless of how you deal with Yurgir, make sure to take the Umbral Gem from the steps on the lower part of his arena, where the Displacer Beast was. It is essential to activating the Ancient Altars (#6 and #21).
In an otherwise unoccupied room, you can find a large slab of spider meat. Investigating it can give you a few options.
Firstly, you can do the obvious thing: eat it. Consuming the spider-flesh will trigger a DC-6 Constitution saving throw, but regardless of the result (and regardless of if you eat more of it), you will uncover that it seems to trigger some kind of arousal when consumed.
If you decide not to eat the spider meat (or after doing so), you can check it for magical interference (with Wizards, Sorcerers, and Warlocks having advantage) with a DC-16 Arcana check, or can study it with a DC-14 Investigation check. Doing either will reveal that the meat has been poisoned, presumably to give it the aforementioned effects.
By agreeing not to kill rats (which you need to in order to satisfy Yurgir’s contract with Raphael (#16), if you should opt to), the rats will let you know about these Sharran provisions. There are hidden in a hidden alcove below the broken staircase on the eastern wing of the Gauntlet, outside of the room where you can encounter the Mirror of Loss (#19).
By following a set of broken stairs down, requiring clever use of mobility options, you will be able to encounter a room containing a strange mirror that seems to reflect nothing. While this seems to serve no purpose yet, it is worth noting it’s existence for later in Act 3 of the game…
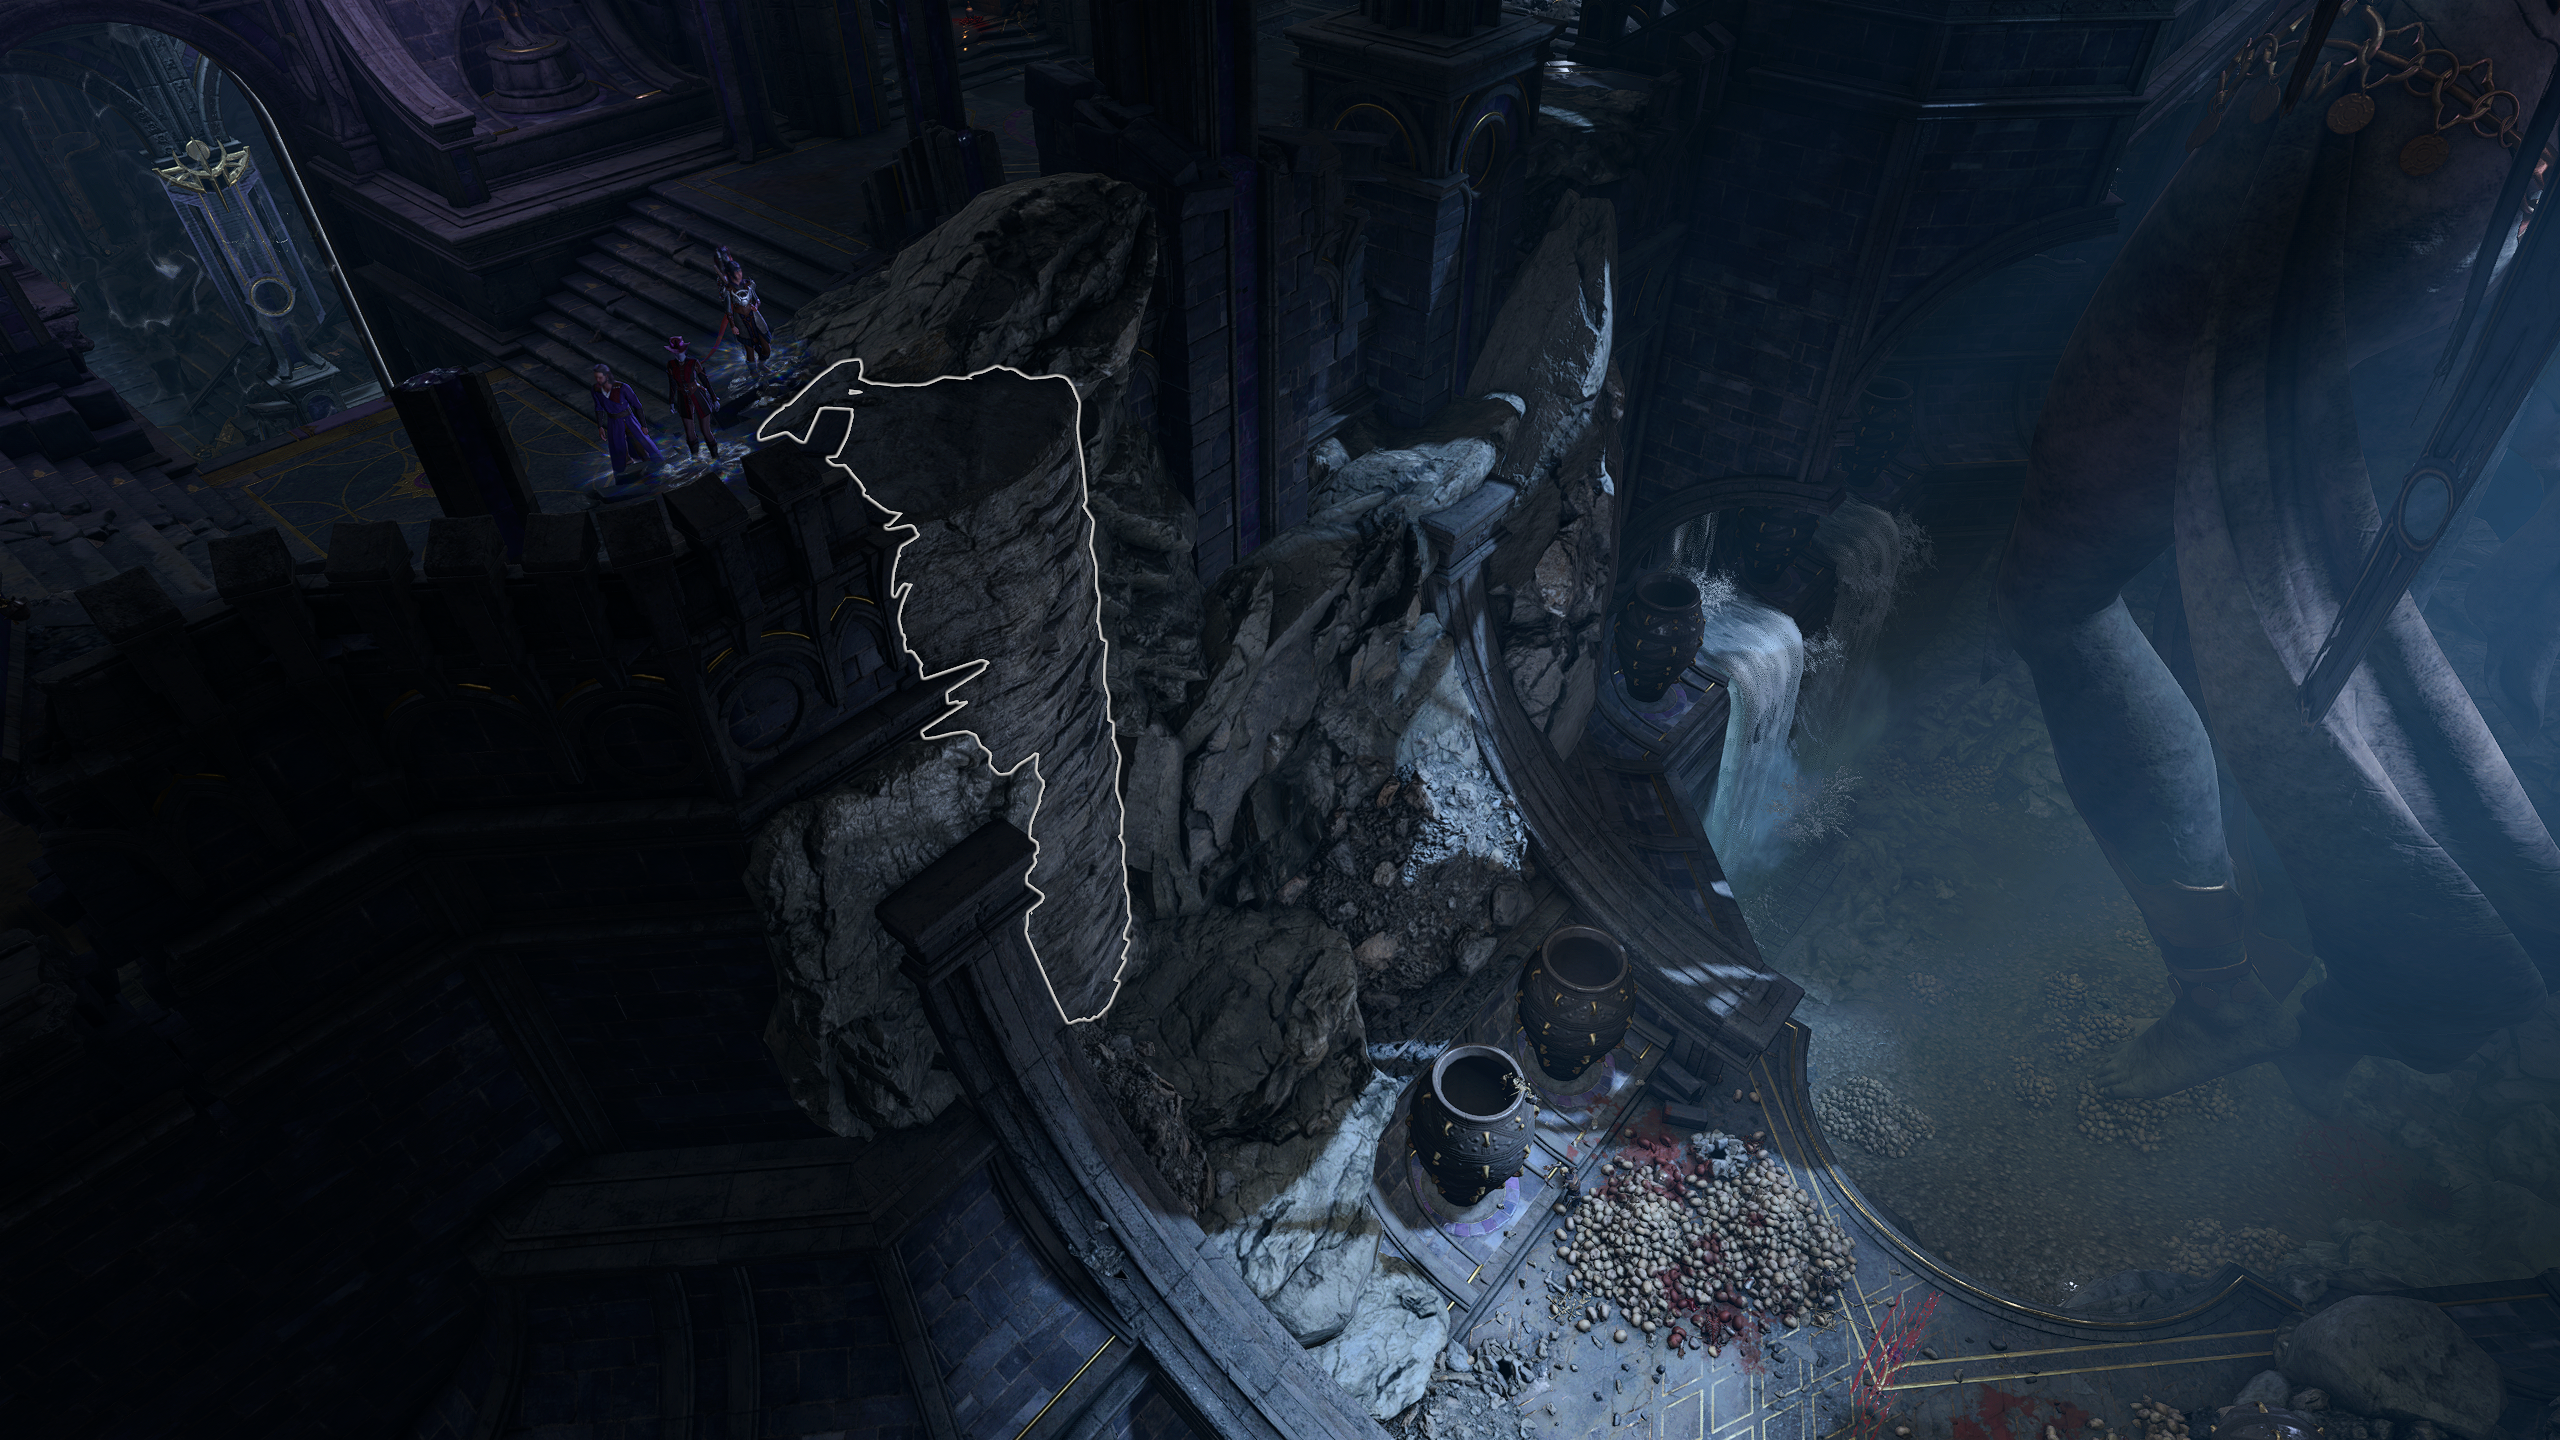
By taking an easy-to-miss set of jagged rocks from the lower floor of the western wing of the Gauntlet, you can actually climb down to the foot of the giant broken statue of Shar. Down here, you will find little aside from some rats… Rats who you might want to kill in order to assist Yurgir (#16) and track down the last Dark Justicar.
After using the first Ancient Altar (#6) to activate the traversal gem, you can take the newly-powered platform down to another Ancient Altar. This one requires 3 Umbral Gems, meaning that you will need to acquire all of the Gems in the Gauntlet if you want to open the door beyond it, finally giving way to the Nightsong (#22). To recap, the Umbral Gems can be found in the following ways:
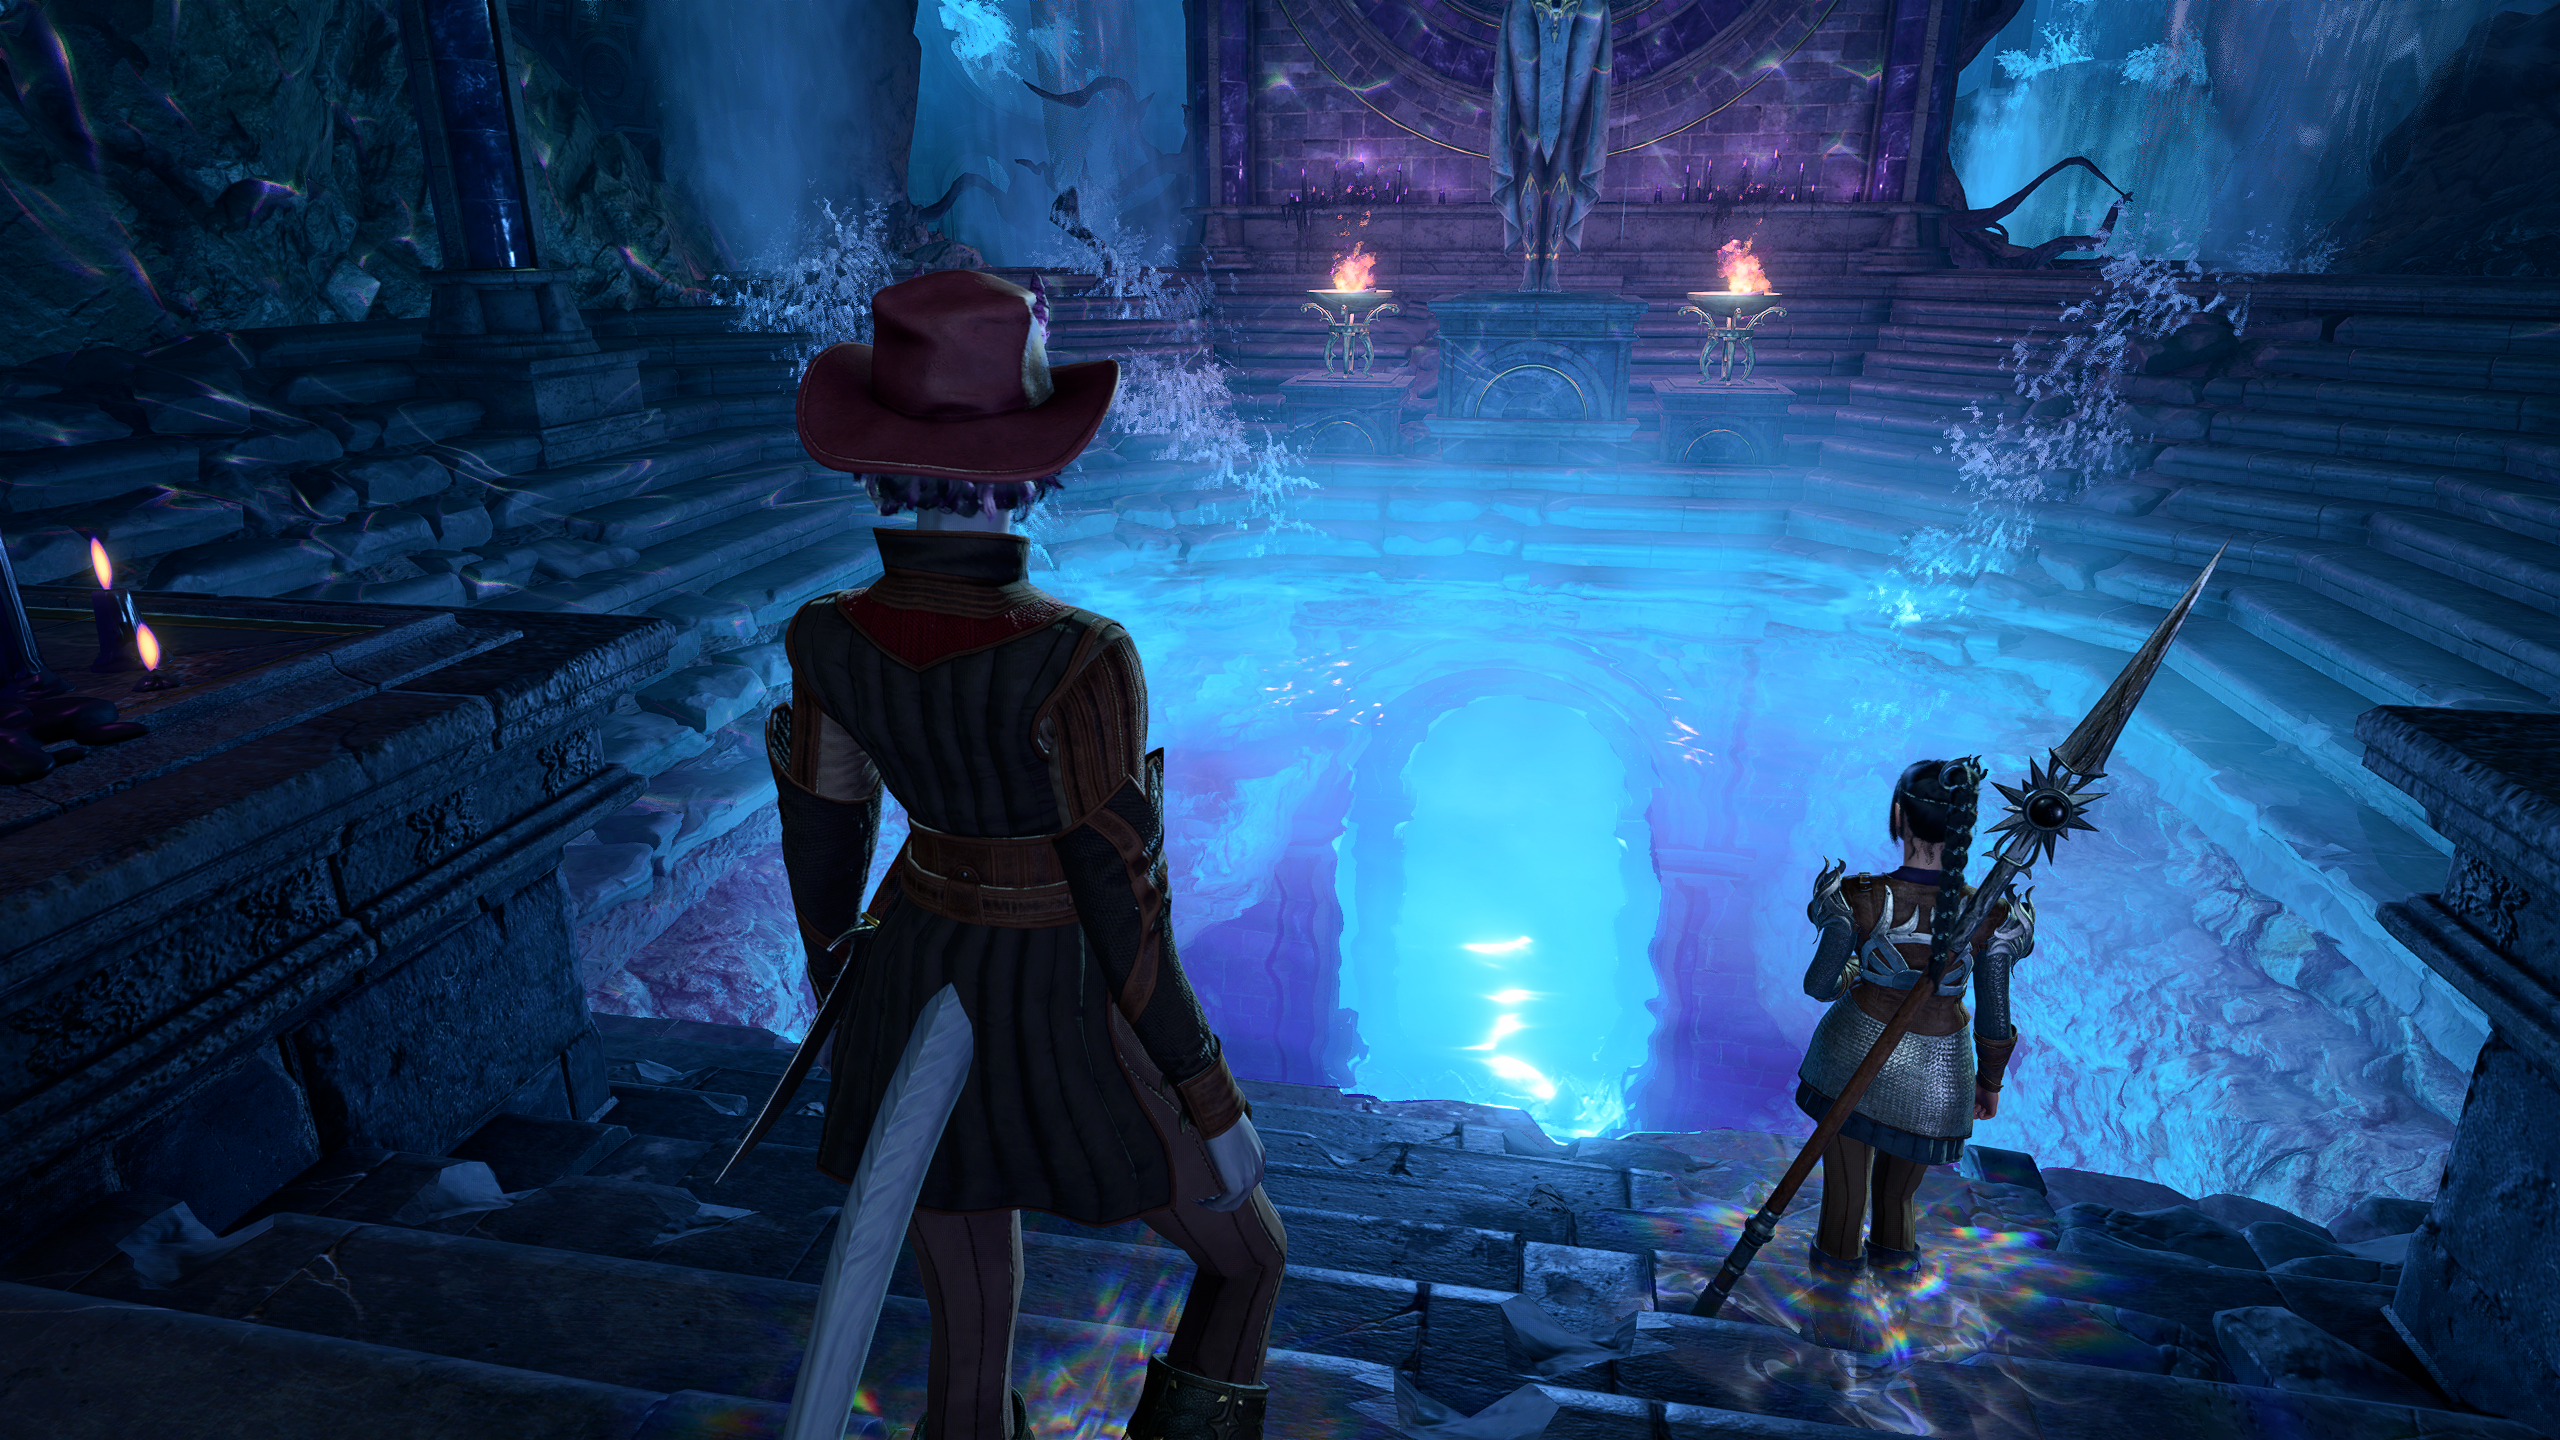
The final antechamber of the Gauntlet of Shar leads to the Shadowfell, a prison constructed by Balthazar in order to imprison the Nightsong who — if you hadn’t gathered — is actually a person. Approaching the pool of blue water will give you a warning: going into it is a “point of no return”, and can progress the main questline of Act 2 in irreversible ways. Most notably: if you have not freed the prisoners below Moonrise Tower and want to, you should do so before entering the Shadowfell.
Once you enter the Shadowfell, which you should do with Shadowheart, you will find yourself on a floating piece of debris far above a central chunk. There is reduced gravity in the Shadowfell, and so you can leap from platform to platform without worrying about fall damage, and with vastly increased jump range.
When you reach the bottom of the platforms and make it to the large one, you will finally lay your eyes upon the Nightsong, a woman named Dame Aylin who is chained to the center of the landing.
If you did not kill Balthazar in the Gauntlet of Shar itself, he will be here, planning to take the Nightsong back to Ketheric Thorm. If you want to side with Ketheric in the battle atop Moonrise Tower, you can let him do so, but if you want to oppose Ketheric and the will of the Absolute, you will need to stop him. Should you opt to interrupt him, there will be no way to avoid combat, and he and all of his Reconstituted minions (as well as his Flesh Golem, Flesh) will attack you.
This fight can be somewhat difficult, but you can use the environment to your advantage, using knockback effects to knock your enemies from the floating platform. Aside from that, focusing on Balthazar and Flesh will be the key, as once Balthazar goes down, you will have achieved victory.
Regardless of if Balthazar stands in your way or not, so long as you don’t let him take her, you will be able then speak to the Nightsong and decide her fate yourself. Ultimately, though, this boils down to two choices: you can either kill the Nightsong (requiring the Spear of Night from the Silent Library (#15), or free her.
Freeing the Nightsong is the most obvious next step. Not only does this set Shadowheart up on the path to becoming a Selunite down the line, but it also gives you a powerful ally against Ketheric Thorm, gives you the opportunity to gain reputation with many characters in the Last Light Inn (including someone very special to the Nightsong). When you free the Nightsong, you will almost immediately be whisked away on her wings to the Moonrise Tower, where your allies will conveniently be waiting to charge into battle against the Tower for you.
Alternatively, killing the Nightsong is required for Shadowheart to become a full Sharrite, as they must kill a Selunite to ascend. While this does take Shadowheart down a dark path, she does get notably more powerful after this. Killing the Nightsong should not be taken lightly, however, as it will put you in a worse position for the fight against Ketheric Thorm later, and is a decision which will have significant consequences on the plotline of the game.
Graves is an avid writer, web designer, and gamer, with more ideas than he could hope to achieve in a lifetime. But, armed with a mug of coffee and an overactive imagination, he'll try. When he isn't working on a creative project, he is painting miniatures, reading cheesy sci-fi novels, or making music.